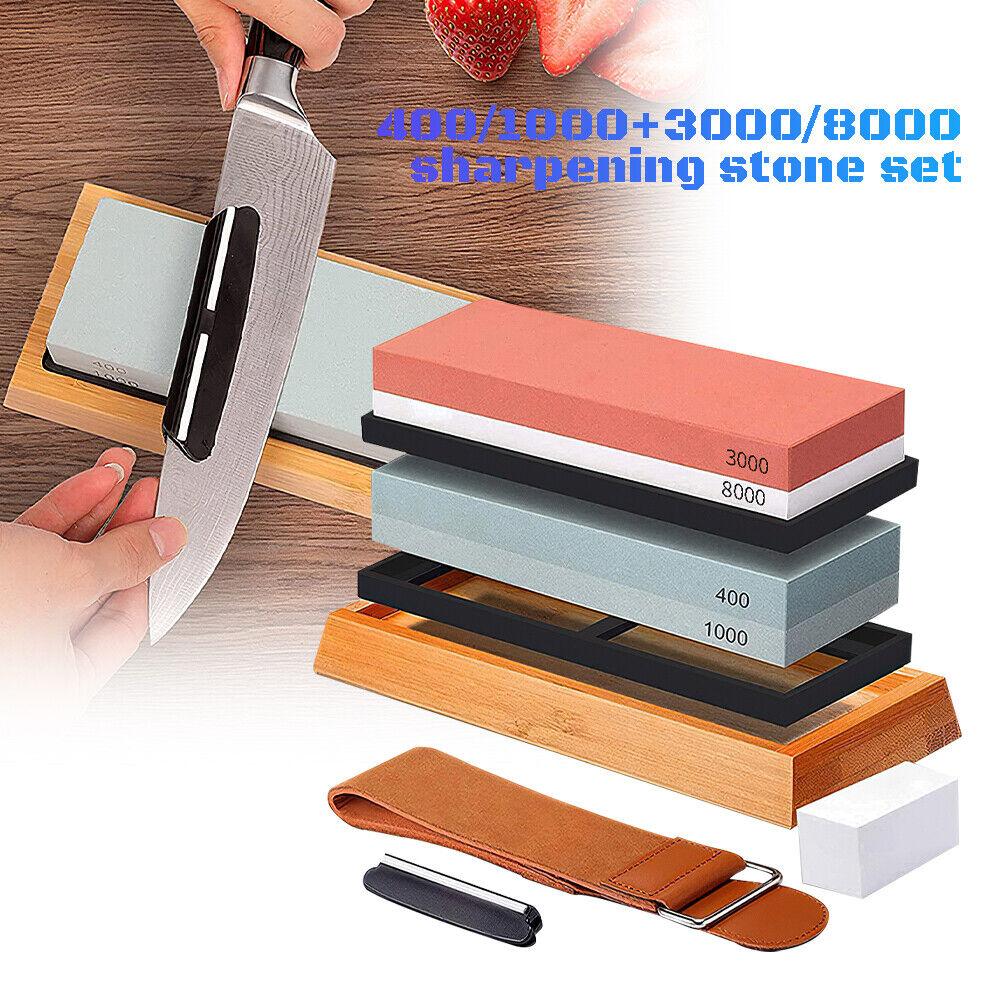
To sharpen kitchen knives at home, you’ll need a sharpening stone and a honing steel. Begin by placing the stone on a stable surface and holding the knife at a 20 degree angle to the stone, then slide the blade along the stone in a sweeping motion.
Next, use the honing steel to straighten the blade’s edge. Sharp kitchen knives are essential for any cook, and while some may prefer to have their knives professionally sharpened, it is possible to sharpen them at home with a few simple tools.
In this article, we will provide step-by-step instructions for sharpening your kitchen knives, so you can keep them in top condition for all your culinary endeavors. We will also explain the differences between honing and sharpening, and provide tips for maintaining your knives between sharpenings. So, let’s get started!

Credit: misen.com
Key Takeaways
Understanding Different Types Of Kitchen Knives
To properly sharpen kitchen knives at home, understanding the different types of kitchen knives and their uses is essential. Here are the key points to keep in mind:
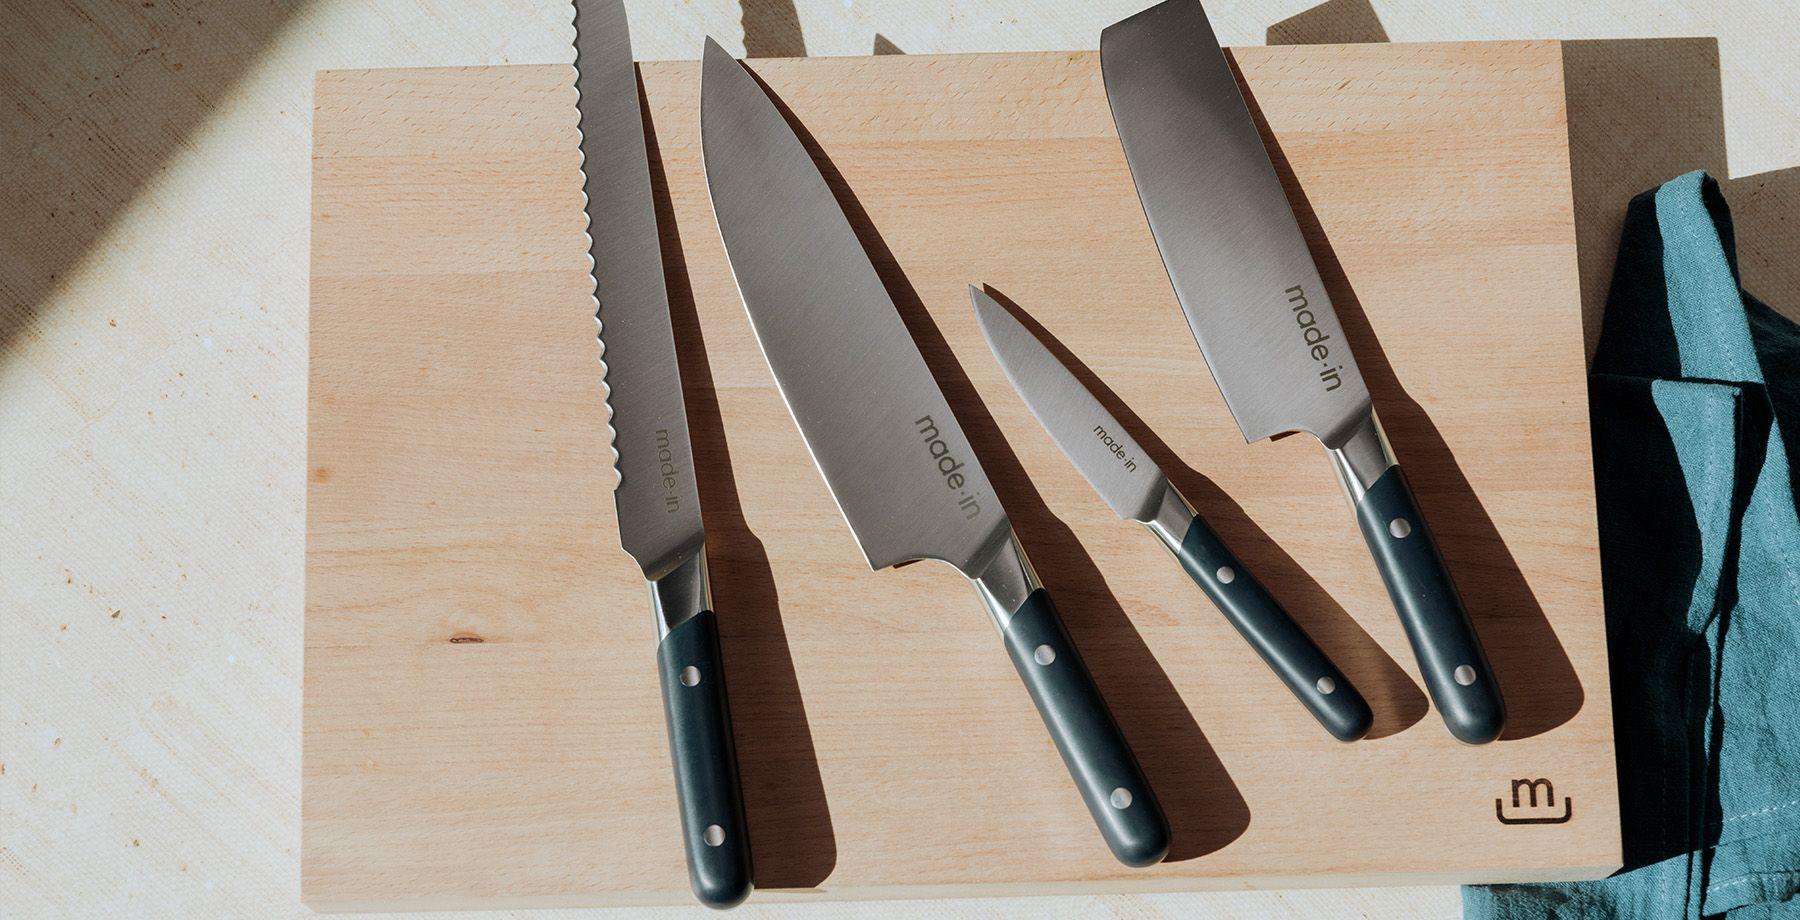
- Chef’s knife: This versatile knife is your go-to for most kitchen tasks, from slicing and dicing to chopping and mincing.
- Paring knife: This small knife is perfect for precision tasks like peeling and trimming.
- Bread knife: Serrated blades make this knife ideal for cutting through bread, but it can also be used for slicing tomatoes and other delicate items.
- Santoku knife: This japanese-style knife is similar to a chef’s knife, but has a flatter blade and a different handle shape. It excels at slicing and chopping with a rocking motion.
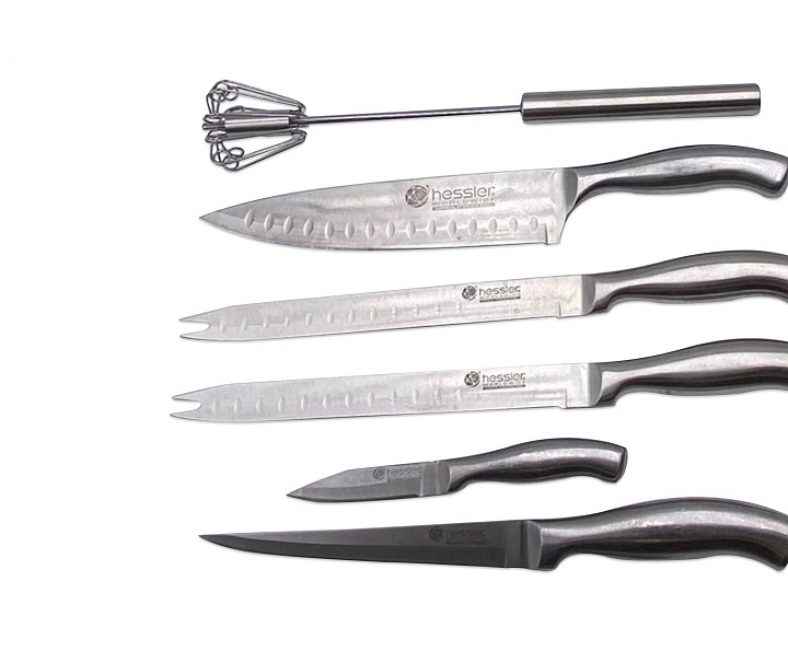
- Carving knife: This long, thin knife is perfect for slicing meats like roast beef or ham, as well as poultry.
Sharpening Tools And Techniques That Will Be Covered
To sharpen your kitchen knives at home, you’ll need some specific tools and techniques. Here’s what we’ll cover:
- Honing steel: This rod-like tool is used to straighten the edge of your knife, rather than sharpening it. It’s important to use a honing steel regularly to keep your knives in good condition.
- Sharpening stones: These blocks of abrasive material come in a range of grits, from coarse to fine. They’re used to sharpen dull or damaged knife blades.
- Electric knife sharpener: These machines use a spinning abrasive wheel to quickly and easily sharpen your knives. They’re great for busy home cooks who need sharp knives on a regular basis.
- Manual knife sharpener: Similar to an electric sharpener, but operated by hand. These can be a good option for those who want more control over the sharpening process.
Tips For Maintaining Your Kitchen Knives
Once you’ve sharpened your kitchen knives, it’s important to take care of them to ensure they stay sharp. Here are some tips to keep in mind:
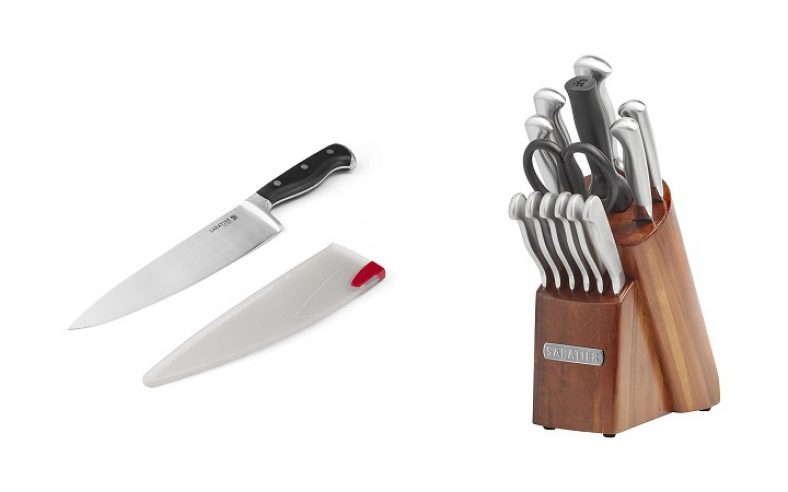
- Store your knives correctly: A knife block or magnetic strip is the best way to store your knives safely and prevent damage to the blades.
- Clean your knives properly: Always hand wash your knives in warm, soapy water and dry them thoroughly before putting them away.
- Don’t use your knives on inappropriate surfaces: Avoid cutting on hard surfaces like glass or stone, as this can damage the blade.
- Sharpen your knives regularly: Even the best knives will dull over time with regular use, so make sure you hone or sharpen them as needed to keep them performing well.
- Be careful when using your knives: Always use your knives carefully and with intention, and never leave them lying around where they could cause injury.
Remember, a sharp knife is safer and more efficient than a dull one, so it’s worth taking the time to properly sharpen and maintain your kitchen knives. With the right tools and techniques, you can keep your knives in top condition and make your meal prep tasks much easier.
Understanding Kitchen Knives
Sharpening kitchen knives is a vital skill that every home cook should have. Not only does it make cooking easier, but it’s also essential for safety in the kitchen. We’ll dive into the basics of understanding kitchen knives and the importance of maintaining their sharpness.
Different Types Of Kitchen Knives
Understanding the different types of kitchen knives is the first step to sharpening them properly. Here are some of the most common types of kitchen knives:
- Chef’s knife: Used for chopping, slicing and dicing vegetables, fruits, and meats.
- Paring knife: Used for small, intricate cuts like peeling and trimming.
- Bread knife: Used for slicing through crusty bread without crushing it.
- Boning knife: Used for removing bones from meat or fish.
- Serrated knife: Used for cutting through foods with tough exteriors like tomatoes or citrus fruits.
Their Specific Uses
Each type of kitchen knife has its own specific use. Understanding what each knife is used for can help you use them more effectively and safely. Here’s a breakdown of their uses:
- Chef’s knife: Can be used for most kitchen tasks like chopping, slicing and dicing.
- Paring knife: Ideal for tasks that require more precision like peeling and trimming.
- Bread knife: Perfect for cutting through crusty bread or delicate cakes without crushing them.
- Boning knife: Designed for removing bones from meat or fish with precision.
- Serrated knife: Great for cutting through tough exteriors of food like tomatoes or citrus fruits.
Importance Of Maintaining Sharpness
Maintaining the sharpness of kitchen knives is vital for safety in the kitchen. Here’s why:
- A dull knife requires more force to cut, increasing the risk of injury.
- A sharp knife enables you to make cleaner cuts, resulting in more even cooking and better food presentation.
- Dull knives can damage the food, making it look unappealing and affecting the texture and flavor.
- Maintaining sharpness can save you time in the kitchen by making prep work faster and easier.
How Dull Knives Can Be Dangerous For Cooking
Dull knives can be just as dangerous as sharp knives in the kitchen. Here’s why:
- A dull knife requires more force to cut, increasing the risk of slipping, and can cause injury to the user or damage the food being cut.
- A dull knife can cause uneven cuts that may affect the food’s cooking time and texture, resulting in a less appetizing dish.
Understanding kitchen knives’ various types and their specific uses is essential, as is maintaining their sharpness for safety, speed, and efficient food preparation. Hopefully, these tips will help you sharpen your kitchen knives at home like a pro.
Knife Anatomy
Sharpening your kitchen knives at home is an essential skill for any home cook. A dull knife is not only frustrating to work with but can also be unsafe. Understanding the anatomy of a knife is a crucial first step in ensuring proper sharpening.
The Different Parts Of A Kitchen Knife
A kitchen knife consists of various parts that serve different purposes. Here are the key parts of a kitchen knife:
- Blade: The blade is the metal portion of the knife used for cutting.
- Edge: The sharpened part of the blade that makes contact with the food.
- Tip: The pointed end of the blade that is used for detailed, delicate work.
- Spine: The thickest part of the blade opposite the cutting edge.
- Bolster: The thick metal section where the blade meets the handle, providing balance and weight distribution.
- Handle: The part of the knife used for gripping.
How Each Part Affects The Knife’S Performance
Each part of the knife works together to impact the knife’s performance. Here’s a brief overview:
- Blade: The blade’s sharpness and quality determine the knife’s overall performance.
- Edge: The edge’s sharpness is critical for precision and ease of cutting.
- Tip: The tip is crucial for intricate work such as carving or filleting fish.
- Spine: The spine provides stability and control while cutting.
- Bolster: The bolster provides balance and safety when using the knife.
- Handle: The handle’s grip determines how comfortable and secure the knife is to hold.
Understanding the anatomy of a knife can help you identify any issues that may arise during sharpening. Once you know the basics, you can move on to learning how to sharpen your knives effectively.
Sharpening Techniques
Various Methods For Sharpening Kitchen Knives
There are various methods for sharpening kitchen knives, each with their respective advantages and disadvantages. Some of the popular sharpening methods include:
- Sharpening stones: These are the most traditional and popular sharpening tools. Grits vary between stones but generally range from coarse to fine.
- Electric sharpeners: These machines offer quick and efficient sharpening but can be expensive and may remove more metal than necessary.
- Honing rods: These tools are often used to realign the knife’s edge, rather than sharpen it. They’re especially useful for maintaining the sharpness of a well-maintained knife.
How To Determine The Appropriate Method For Your Knives
The appropriate sharpening method for your knife depends on various factors, such as the knife type, blade material, the degree of dullness, and your experience level. Some guidelines to follow include:
- If your knife is extremely dull, start with a coarse grit stone or electric sharpener.
- Determine your knife’s angle before sharpening and make sure to maintain this angle throughout the process.
- Experiment with different sharpening methods to discover which works best for your knife.
Pros And Cons Of Each Sharpening Technique
While each sharpening method has its advantages, there are also some drawbacks to consider. Below are some pros and cons:
Sharpening stones:
- Pros: Versatile, able to sharpen any knife, allows for complete control over the sharpening process.
- Cons: Steep learning curve, takes more time to master, can be messy.
Electric sharpeners:
- Pros: Fast, efficient, and easy to use, often with various sharpening stages.
- Cons: Expensive, may remove more metal than necessary, may not be suitable for more delicate knives.
Honing rods:
- Pros: Quick and easy to use, affordable, great for maintaining a sharp edge.
- Cons: Not suitable for sharpening extremely dull knives, requires some skill to use correctly.
Overall, understanding the various sharpening techniques and when to use them can improve your knives’ longevity and performance. Regular sharpening ensures that your blades are always working at their best and makes cooking an enjoyable and safe experience.
Using A Sharpening Stone
Sharpening your kitchen knives can seem like a daunting task, but with a sharpening stone, it’s easy to do at home. Here’s how:
Preparing The Stone For Use
Before you start sharpening your knives, you need to prepare the sharpening stone. Here’s what you need to do:
- Soak the stone: Depending on the type of sharpening stone you have, you may need to soak it in water for a few minutes before use. Check the instructions to see if this is necessary.
- Place the stone in position: Place the sharpening stone on a stable surface with the rough side facing up.
Proper Technique For Using The Sharpening Stone
Now that your sharpening stone is ready, it’s time to learn the proper technique for using it to sharpen your knives. Here are the steps:
- Hold the knife correctly: Hold the knife handle in your dominant hand and place the blade against the stone at a 20-degree angle.
- Apply pressure: Using light pressure, drag the blade along the entire length of the stone in a sweeping motion.
- Repeat the process: Repeat this process on the opposite side of the blade, making sure to maintain the same angle.
- Alternate sides: Continue to alternate sides, sharpening the blade until you achieve the desired sharpness.
How To Know When The Knife Is Sufficiently Sharpened
The key to sharpening a knife properly is knowing when it’s sharp enough. Here are some signs to look for:
- Test the blade’s sharpness: Gently run the blade along a piece of paper. If the blade cuts through the paper with ease, it’s sharp enough.
- Check the blade’s edge: Examine the blade’s edge under a light. If it reflects light evenly, it’s sharp. If there are any dull or uneven spots, continue sharpening.
Remember, using a sharpening stone takes practice, but with time, you’ll be able to sharpen your knives like a pro. Happy sharpening!
Electric Knife Sharpeners
Sharpening your kitchen knives at home is essential if you want to prevent dull blades from ruining your meals. Although there are manual sharpeners you can use, electric knife sharpeners are a popular choice for their speed and efficiency. In this section, we’ll learn how electric knife sharpeners work, the pros and cons of using them, and best practices for sharpening knives with electric sharpeners.
How Electric Knife Sharpeners Work
Electric knife sharpeners utilize abrasive materials or rotating wheels to grind away at the dull edges of your blade. Here are the key points:
- The process of electric knife sharpening is similar to using a manual sharpener, but faster and more efficient.
- The sharpening stones or wheels rotate at high speeds to grind away the edge of the blade, sharpening it.
- After you turn on the machine, it will guide you through the process, so you don’t have to worry about how many passes you have to make or the right angle to use.
Pros And Cons Of Using Electric Knife Sharpeners
As with any tool, electric knife sharpeners have their advantages and disadvantages. Here are the key points:
Pros:
- They are fast and efficient, so you can sharpen many knives in a short amount of time.
- They are user-friendly, so you don’t have to be a pro to use them.
- They produce consistent results, ensuring that your knives are sharpened evenly.
Cons:
- They may remove too much metal from the blade, shortening its lifespan.
- They can be noisy, especially if you’re using a high-speed grinder.
- They are more expensive than manual sharpeners.
Best Practices For Sharpening Knives With Electric Sharpeners
To get the best results from your electric knife sharpener, here are some best practices to follow:
- Read the manual carefully before using the machine to familiarize yourself with the instructions and any safety considerations.
- Make sure that the blade is clean and free of debris before sharpening.
- Follow the machine’s instructions on how to position the blade and what angle to use.
- Avoid pressing down too hard on the blade, as this can damage the sharpening wheels and shorten their lifespan.
- Test the sharpness of your blade after sharpening by slicing through a tomato or onion.
Electric knife sharpeners are an excellent choice for those who want fast and efficient results. By understanding the pros and cons of using them and following best practices, you can ensure that your knives are sharpened correctly without damaging them.
Sharpening With A Manual Pull-Through Sharpener
Keeping your kitchen knives sharp is crucial for efficient and safe cooking. However, sharpening your knives can seem daunting if you’ve never done it before. That’s why using a manual pull-through sharpener is a great option for beginners and professionals alike.
In this section, we’ll explore why you should choose a pull-through sharpener, how to sharpen your knives with one, and the advantages and disadvantages of using this type of sharpener.
Why Choose A Pull-Through Sharpener
Here are a few key reasons why a pull-through sharpener might be the right choice for you:
- Ease of use: Pull-through sharpeners are straightforward to use, making them an excellent choice for beginners. Simply insert the blade into the slot and pull it through a few times, and you’re done.
- Consistency: One of the main benefits of a pull-through sharpener is that it helps you achieve consistent results every time, which is critical for maintaining the edge of your knives.
- Affordability: Compared to other types of sharpeners, manual pull-through models are often more affordable.
How To Sharpen With A Manual Pull-Through Sharpener
Here’s how to sharpen your knives using a manual pull-through sharpener:
- Start by selecting the correct slot: Pull-through sharpeners come with two slots, one for honing and one for sharpening. Select the slot that’s appropriate for the level of dullness on your knife.
- Insert the blade into the slot: Place the heel of the knife blade into the slot at a 90-degree angle and apply light pressure.
- Pull the blade through the sharpener: Pull the blade through the slot from heel to tip while applying gentle pressure. Repeat this process three to four times, depending on the level of dullness.
- Use the honing slot: Next, use the honing slot to remove any burrs on the blade’s edge. Insert the blade and pull it through the slot several times, applying light pressure.
- Test the blade: Test the blade by slicing through a piece of paper. If the knife glides through the paper without snagging or tearing it, you’re good to go.
Advantages And Disadvantages Of Manual Pull-Through Sharpeners
Like any tool, manual pull-through sharpeners have their advantages and disadvantages. Here are a few things to consider:
Advantages:
- Convenient: Manual pull-through sharpeners are portable and don’t require electricity, making them a handy tool to have in your kitchen.
- Consistent results: With a pull-through sharpener, you can achieve consistent results every time, which is critical for maintaining a razor-sharp edge.
- Affordable: Manual pull-through sharpeners are generally more affordable than electric models, making them an attractive option for budget-conscious cooks.
Disadvantages:
- Limited sharpening: While a pull-through sharpener is excellent for honing your knives, it’s not the best choice for badly damaged blades.
- Skill required: Even though pull-through sharpeners are easy to use, it does require a certain amount of skill to master the technique. Over-sharpening or applying too much pressure can damage your knives.
- Durability: Many manual pull-through sharpeners are made of plastic, making them less durable than their electric counterparts. You may need to replace them more frequently.
Using a manual pull-through sharpener is an excellent option for sharpening your kitchen knives. It’s easy to use, produces consistent results and is an affordable tool. However, it’s essential to consider the limitations of pull-through sharpeners and to use them correctly to avoid damaging your knives.
Keep these tips in mind, and you’ll be slicing and dicing like a pro in no time at all.
Maintaining Your Kitchen Knives
Sharpening your kitchen knives regularly is a must to ensure they perform well and last longer, but maintaining their sharpness is equally crucial. Proper maintenance not only helps you get the most out of your investment but also prevents accidents in the kitchen.
In this section, we’ll explore the best practices for maintaining your kitchen knives, proper storage, preventing them from getting dull, and when it’s time to replace them.
After Sharpening, Best Practices For Maintenance
Once you’ve sharpened your kitchen knives, there are several practices to help keep them sharp for longer:
- Wipe them clean after every use with a damp cloth and dry them thoroughly.
- Avoid washing them in the dishwasher as the high temperatures and chemicals can damage the metal and dull the edges. Instead, wash them by hand with mild soap and warm water, and immediately dry them.
- Don’t leave them to soak in the sink as water can seep inside and cause corrosion.
- Avoid cutting on hard surfaces like granite or stone counters, glass plates, or metal as this can dull the edges.
- Never use your kitchen knives as a can opener, screwdriver, or bottle opener.
Proper Storage Of Kitchen Knives
Proper storage of your kitchen knives not only prevents them from getting dull but also keeps them safe from kids and pets. Here are some tips:
- Store them away from other utensils and tools and in a separate knife block or a magnetic strip.
- Avoid storing them loose in a drawer, or you could damage the blades or hurt yourself while rummaging for them.
- If you do store them in a drawer, use a knife guard to protect the edges.
How To Prevent Knives From Getting Dull
You can take the following measures to prevent your kitchen knives from getting dull quickly:
- Don’t use them on hard surfaces or metal plates as it can cause chipping and dullness.
- Use a honing steel regularly to keep the edges aligned and straight.
- Have them professionally sharpened once or twice a year, depending on how often you use them.
When To Replace Your Kitchen Knives
Even with regular maintenance, kitchen knives eventually lose their edge and need replacing. Here’s when you should consider getting new knives:
- When they are frequent breakage, rusting or corrosion hide the actual edge.
- When they cannot be sharpened, or they don’t hold an edge.
- When they don’t feel comfortable in your hand or are too heavy.
Maintaining your kitchen knives is essential for their longevity and performance. Follow the above best practices for maintenance, proper storage, prevention of dullness, and replacement, and enjoy the convenience and safety that sharp kitchen knives offer.
Storing Your Kitchen Knives
Sharpening your kitchen knives at home is a satisfying task that can save you some dollars and increase the lifespan of your knives. But what next after sharpening your knives? You need to store them safely and securely to prevent them from dulling and damaging.
In this section, we will cover all you needed to know about storing your kitchen knives.
How To Store Your Knives Safely And Securely
Storing your knives safely and securely is essential for your safety and to keep them sharp for a long time. Here are some tips to store your kitchen knives safely:
- Keep your knives out of reach of children and pets, preferably in a locked drawer or cabinet.
- Store your knives with their blade edge down to avoid dulling the blade edge.
- Keep your knives away from moisture and heat sources to prevent rust.
- Store your knives separately and avoid stacking them, as this can make them dull and damage the blades.
Different Types Of Knife Blocks And Magnetic Holders
There are several knife storage options available, but knife blocks and magnetic holders are the most popular.
Knife Blocks
Knife blocks are a classic and straightforward storage solution. Knife blocks come in various materials, including wood, plastic, bamboo, and metal. Here some of the pros and cons of using knife blocks:
- Pros: They are affordable, readily available, and come in various sizes and styles to fit your kitchen decor.
- Cons: They can be challenging to clean, as they tend to collect dust and debris, and they have limited storage capacity.
Magnetic Holders
Magnetic holders use strong magnets to hold your knives securely in place, making them more accessible than knife blocks. They come in various sizes and shapes to fit your kitchen decor, and you can easily mount them on the wall or under your kitchen cabinet.
Here are some pros and cons of using magnetic holders:
- Pros: They are stylish, space-saving, and easy to clean.
- Cons: They can be relatively expensive, and you need to be careful when placing and removing your knives to prevent damaging the blades.
Investing in a good knife storage solution is essential to keep your knives safe, secure, and sharp for longer. Whether you choose a knife block or magnetic holder, ensure that you follow the provided care instructions for your knives and the storage solution you choose.
Frequently Asked Questions Of How To Sharpen Kitchen Knives At Home
How Often Should I Sharpen My Kitchen Knives?
Sharpen your kitchen knives at least once a month. If you use them frequently, you may need to sharpen them more often. Dull knives can be dangerous and inefficient.
What Are The Best Supplies To Sharpen Kitchen Knives?
The best supplies to sharpen kitchen knives are a sharpening stone or a honing rod. A sharpening stone is used to grind and reshape the blade while a honing rod is used to realign the blade’s edge.
How Do I Know If My Kitchen Knife Needs Sharpening?
One way to know if your kitchen knife needs sharpening is by slicing through a tomato. If you find it difficult to slice through the fruit or if it squishes instead of slicing, it’s time to sharpen your knife.
Can I Sharpen Serrated Knives At Home?
Yes, you can sharpen serrated knives at home using a serrated knife sharpener. However, if you’re not comfortable with doing it yourself, it’s best to have a professional do it for you.
How Do I Properly Store My Kitchen Knives?
To properly store your kitchen knives, use a knife block, magnetic strip, or sheath. Be sure to keep them dry and out of the reach of children. Never store them loosely in a drawer, as this can cause damage to both the knives and yourself.
Conclusion
With all things considered, sharpening kitchen knives at home is not that difficult, but it requires careful attention and the right tools to get the job done. The key to keeping your knives sharp is to make sharpening a regular part of your kitchen routine.
In addition to following the steps laid out in this blog post, it is important to maintain your knives by keeping them clean, storing them properly, and avoiding unnecessary wear and tear. As you gain experience in sharpening and caring for your knives, you will likely find that your kitchen tasks become easier and more enjoyable.
So, let’s dust off those dull knives and give them the edge they need to make meal preparation a breeze!
