Learning how to sharpen kitchen knives with a stone is the most reliable way to get a truly sharp edge at home. It takes a little practice, but the method is simple: hold a steady angle, raise a burr on each side, then refine. This guide walks through every step.
Table of Contents
Table of Contents
Quick Summary
- Start with: a combination 1000/6000 grit water stone on a non-slip base.
- Angle: about 20° per side for German knives, about 15° for many Japanese knives.
- The key sign: keep sharpening one side until you feel a burr along the whole edge.
- Finish: refine on the fine side, then remove the burr with light alternating strokes.
- Maintain the stone: flatten it regularly so it doesn’t dish in the middle.
A whetstone gives you the sharpest, longest-lasting edge of any home sharpening method. It works on every straight-edged knife in your kitchen, from paring knives to big chef’s knives.
It looks intimidating, but the technique comes down to three things: a steady angle, a burr and patience. Most people get good results within a few sessions.
Why Use a Stone?
Pull-through and electric sharpeners are quick, but they grind at fixed angles and remove more metal than needed. A stone lets you match your knife’s original angle and take off only what’s necessary.
Stones also work on knives that gadgets can’t handle well, such as thin Japanese blades. Once you’ve learned the skill, a good stone lasts for years.
Types of Sharpening Stones
| Type | Lubricant | Pros | Cons |
|---|---|---|---|
| Water stone | Water (soak or splash) | Fast cutting, great edge, widely available | Wears and needs flattening |
| Oil stone | Honing oil | Durable, slow to wear | Slower; messier |
| Diamond plate | Water or dry | Very fast; stays flat | Can be aggressive on fine edges |
| Ceramic stone | Usually water or dry | Hard-wearing; good for fine finishing | Slow on very dull knives |
For most home cooks, a synthetic water stone is the easiest place to start. A combination stone with a medium and a fine side covers nearly every job.
Choosing the Grit
- Coarse (about 200–600): repairs chips and very dull edges.
- Medium (about 1000): everyday sharpening — your main stone.
- Fine (about 3000–8000): refines and polishes for a cleaner, keener edge.
Our guide to what grit whetstone to use explains grits in more detail.
What You’ll Need
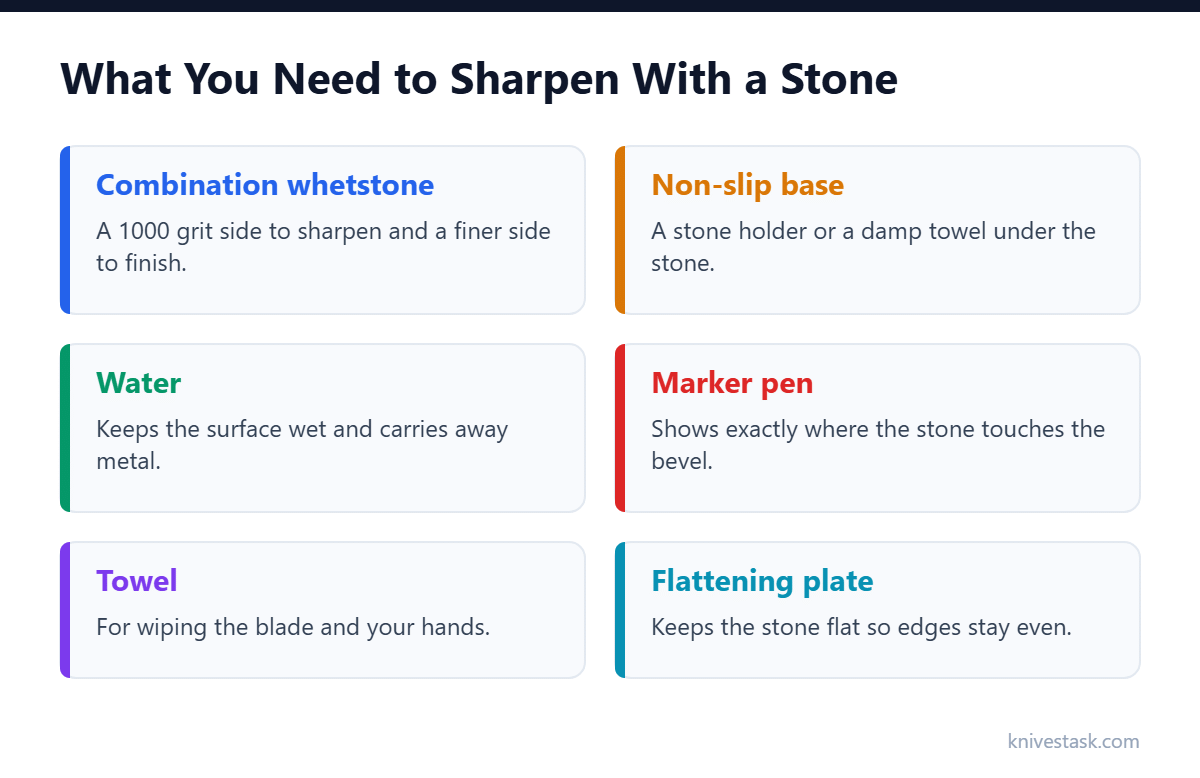
- A combination whetstone, such as 1000/6000 grit.
- A non-slip holder or a damp towel to stop the stone sliding.
- Water or oil, depending on the stone.
- A permanent marker (optional) to see where you’re grinding.
- Paper or a tomato for testing.
How to Sharpen Kitchen Knives With a Stone: Step by Step
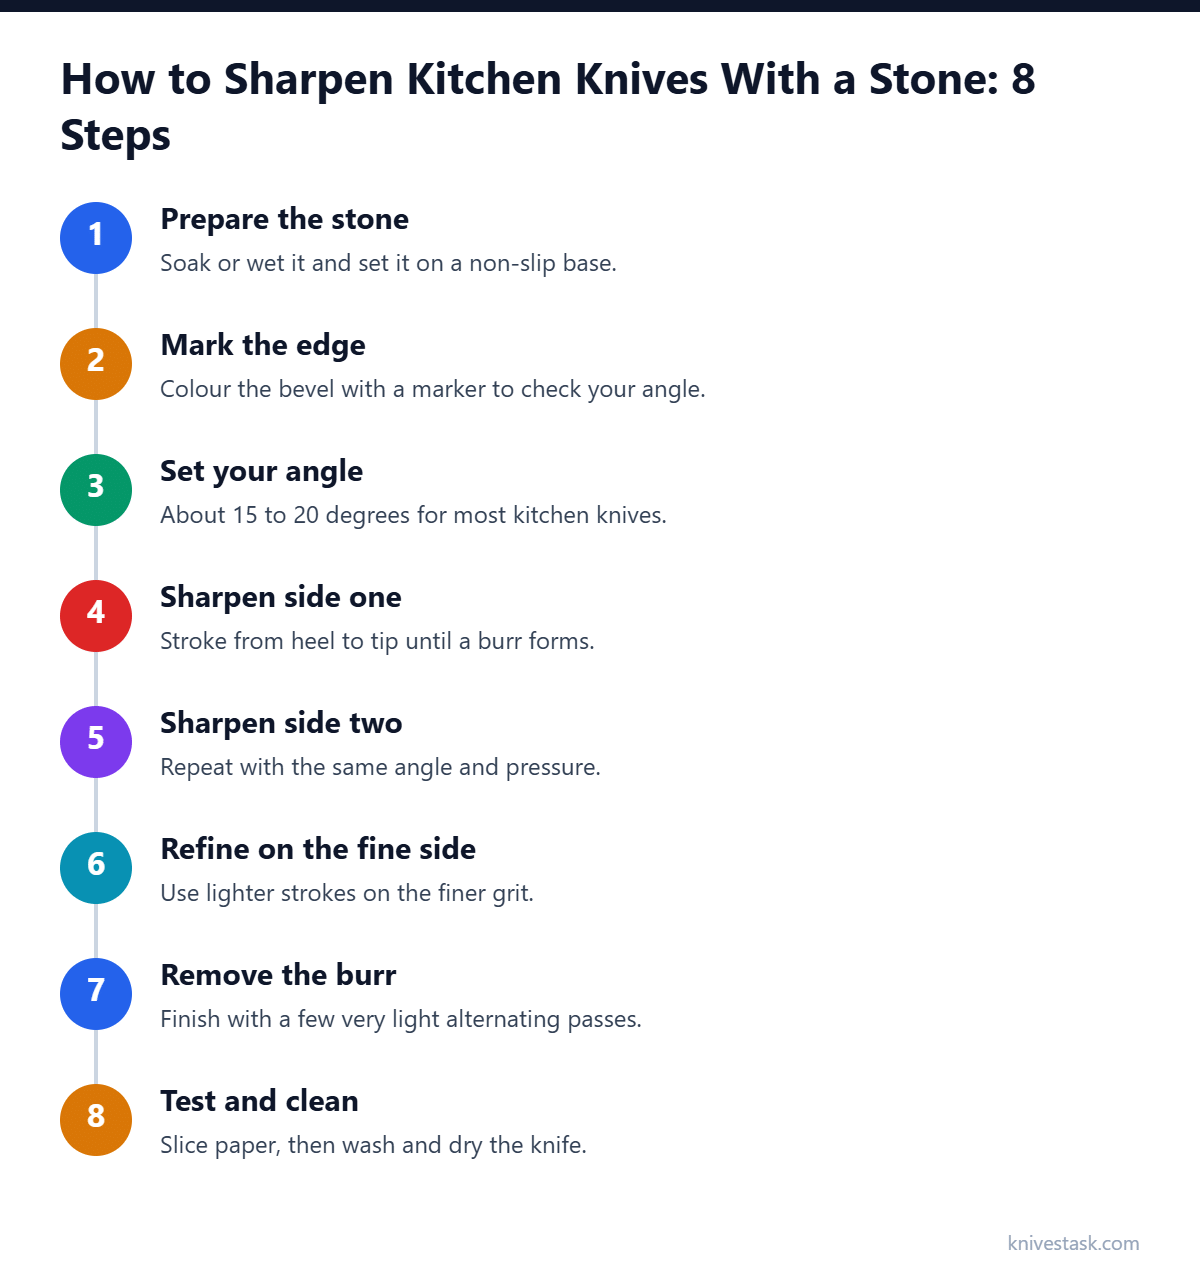
Step 1: Prepare the Stone
Soak a soaking-type water stone until air bubbles stop rising, usually 10–15 minutes. Splash-and-go stones just need wetting, and oil stones need a thin film of honing oil.
Set the stone coarse- or medium-side up on its holder or a damp towel. It must not move while you work.
Step 2: Mark the Edge (Optional)
Color the bevel along the edge with a marker. After a few strokes, you’ll see exactly where the stone is removing metal, which helps you find and hold the right angle.
Step 3: Set Your Angle
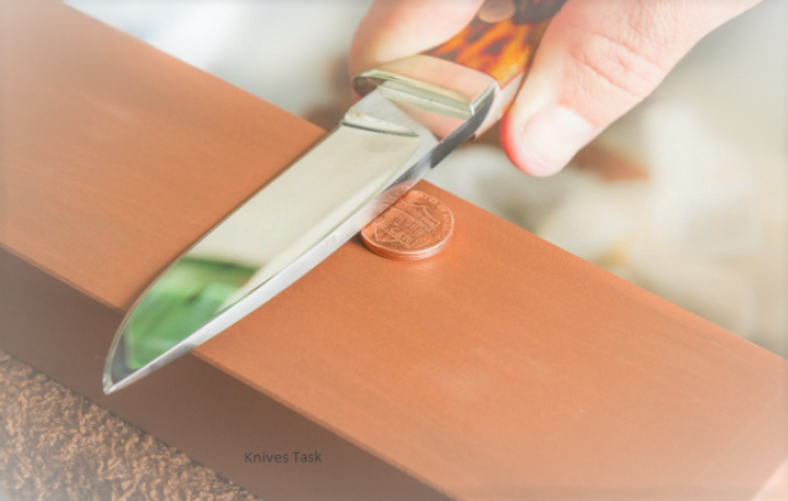
Most German-style knives use about 20° per side, while many Japanese knives use about 15°. For 15–20°, the spine sits roughly two stacked coins above the stone.
Lock your wrist once you’ve found the angle. Consistency matters more than hitting an exact number.
Step 4: Sharpen the First Side
Place two or three fingers of your other hand on the flat of the blade near the edge. Push the knife across the stone edge-first, moving from heel to tip so the whole edge contacts the stone.
Use light to moderate pressure on the push and almost none on the return. Keep going until you can feel a tiny burr along the entire opposite side.
Step 5: Sharpen the Second Side
Flip the knife and repeat until the burr moves back to the first side. Aim for roughly the same number of strokes on each side so the edge stays centered.
Step 6: Refine on the Fine Side
Turn the stone to its finer grit and repeat with lighter pressure. Alternate sides every few strokes as the edge gets cleaner.
Step 7: Remove the Burr
Finish with a few very light, single alternating strokes. You can also strop the edge on leather, cardboard or newspaper, pulling the knife spine-first.
Step 8: Test and Clean
Slice a sheet of printer paper held in the air; it should cut cleanly without snagging. Rinse and dry the knife to remove any metal particles.
If you learn better by watching, Blade Magazine has a clear photo guide on how to use a whetstone, Pro Tool Reviews explains how to position the knife and stone, and Chef Knives To Go covers choosing stones and finding the angle.
A Simple Practice Plan for Beginners
- Session 1: practice on an inexpensive knife and focus only on holding a steady angle.
- Session 2: use the marker trick and work until you can raise a burr along the whole edge.
- Session 3: add the fine side and practice removing the burr cleanly.
- Session 4: sharpen your everyday chef’s knife once you’re getting consistent paper-cutting results.
Short, calm sessions work better than one long one. Your muscle memory for the angle builds surprisingly quickly.
Staying Safe While Sharpening
Keep your guiding fingers on the flat of the blade, never in front of the edge. Work slowly, and wipe away slurry with a cloth moved from spine to edge rather than along it.
Stop if the stone shifts at all, and reset it before carrying on. A stable stone is the single biggest safety factor.
Common Mistakes
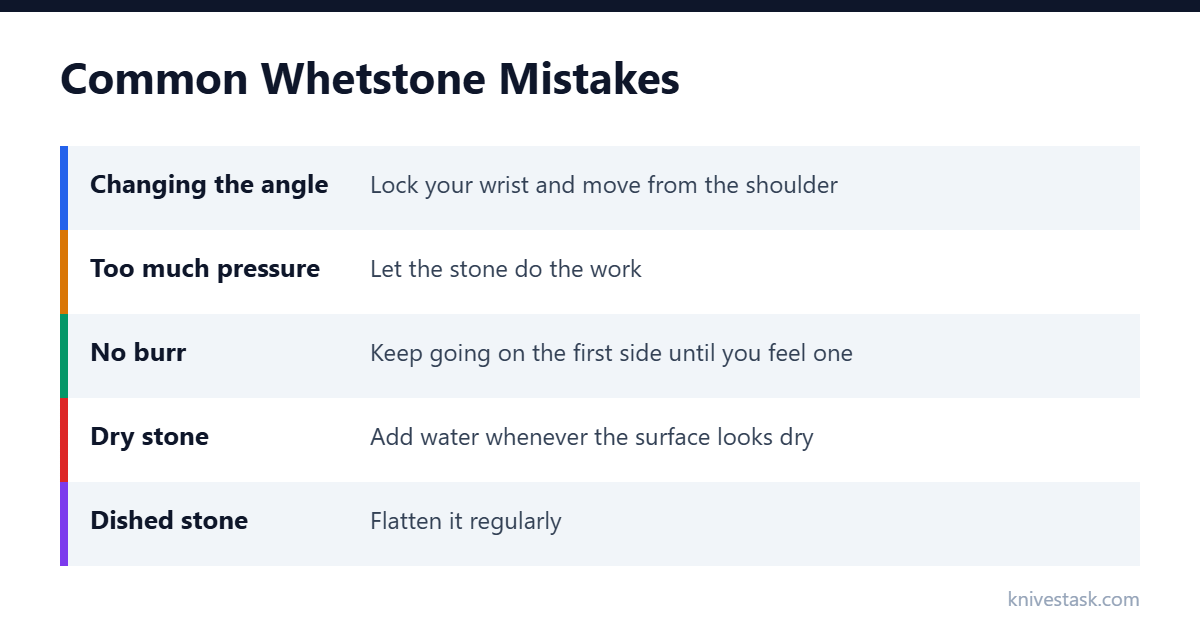
- Rocking the angle: lifting or dropping your wrist rounds the edge.
- Skipping the burr: without it, the edge never fully meets in the middle.
- Pressing too hard: it gouges the stone and can overheat or chip thin blades.
- Ignoring the heel and tip: sweep the whole edge across the stone.
- Letting the stone dry out: keep the surface wet as you work.
Different Knives, Different Approaches
- German knives: softer steel sharpens quickly; a 1000-grit stone is often enough.
- Japanese knives: use lighter pressure, a lower angle and a finer finishing stone.
- Serrated knives: use a tapered rod instead — see sharpening with a rod.
- Ceramic knives: need diamond abrasives or a professional service.
Looking After Your Stone
Water stones wear unevenly and develop a dip in the middle. Flatten them every few sessions with a flattening plate or coarse diamond plate.
Rinse the stone after use and let it air-dry completely before storing. Never put a wet stone in a closed box, where it can grow mold or crack.
How Often to Sharpen
Most home cooks need to sharpen every two to four months, with regular honing in between. Sharpen sooner if the knife slides off tomato skin or crushes soft food.
For a broader overview of methods, see how to sharpen kitchen knives.
Frequently Asked Questions
What angle should I use on a whetstone?
Match the knife’s original angle — about 20° per side for most German knives and about 15° for many Japanese knives.
Do I need to soak my whetstone?
Only soaking-type water stones. Splash-and-go stones need just a wet surface, and oil stones use honing oil instead.
How do I know I’ve raised a burr?
Gently run your fingertip from the spine toward the edge on the opposite side. A burr feels like a tiny catch or roughness along the edge — never slide your finger along the edge.
How long does sharpening a knife on a stone take?
Ten to twenty minutes for a moderately dull chef’s knife once you’re practiced. A quick touch-up on the fine side takes only a few minutes.
Can I use a whetstone on serrated knives?
Not easily. Use a tapered rod that fits the serrations, or a sharpening service.