Quick Summary
- Check the edge first: many Miracle Blade knives are serrated; some are plain.
- Serrated edges: sharpen each scallop on the beveled side with a tapered ceramic or diamond rod.
- Plain edges: sharpen on a whetstone, rod or manual sharpener at about 15–20° per side.
- Avoid two-sided electric or pull-through sharpeners on serrated blades.
- Inexpensive knives are sometimes better replaced than repeatedly sharpened.
Miracle Blade knives became famous through TV infomercials, and many households still have a set. Most pieces have serrated edges, which cut well for a long time but need a different sharpening approach from a straight-edged chef’s knife.
Our older version of this article didn’t actually explain how to sharpen them and included copied text from a retailer’s website. This guide replaces it with practical steps.
For our view of the knives themselves, see our Miracle Blade reviews.
Step 1: Identify Your Edge
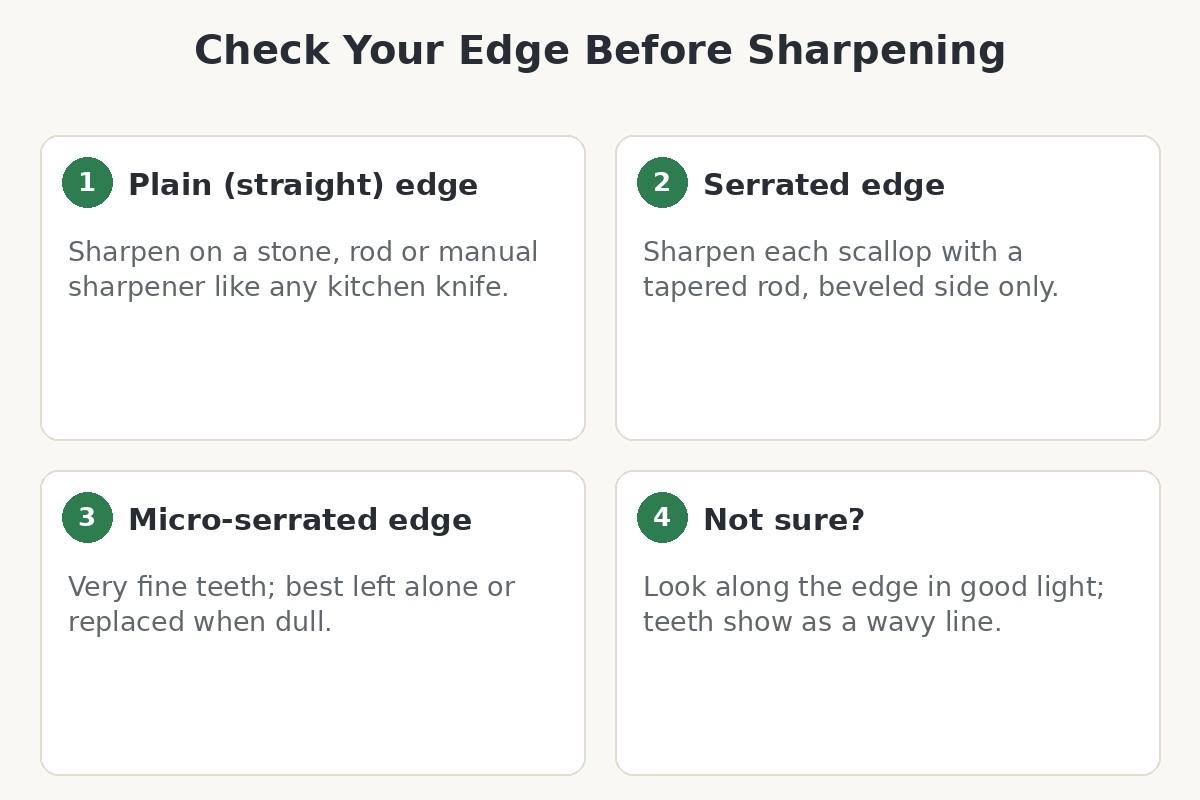
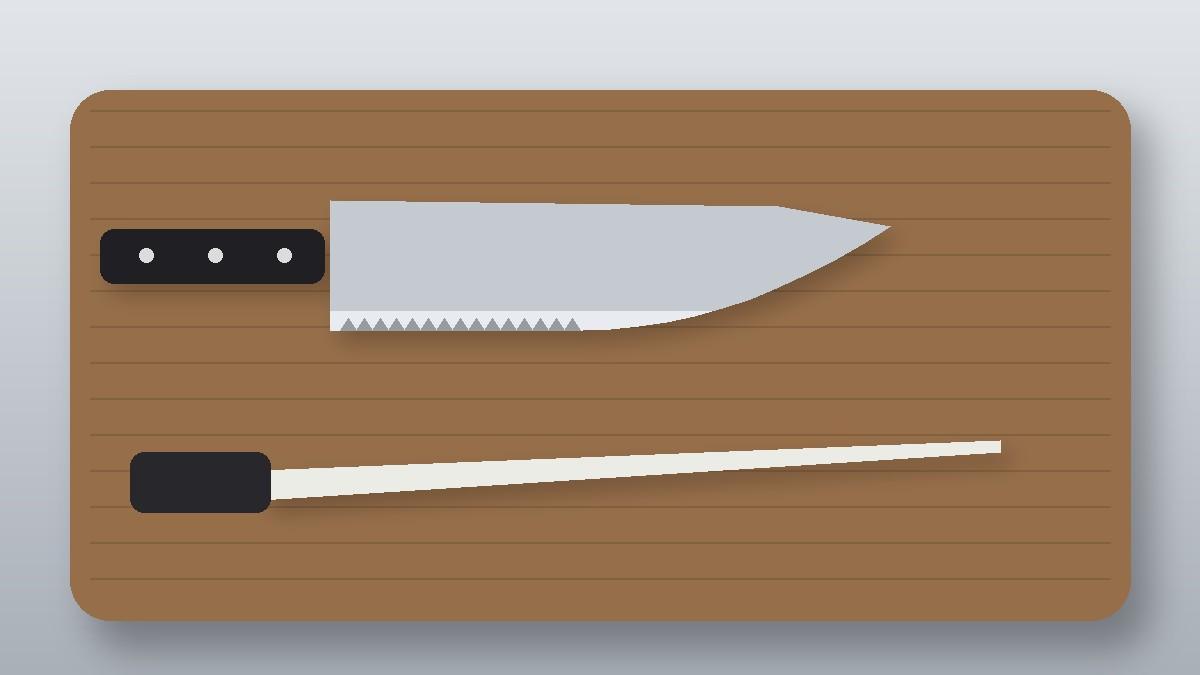
Look along the edge in good light. A serrated edge shows a wavy line of scallops and teeth; a plain edge is a smooth, continuous line.
Most serrated kitchen knives are beveled on one side only, with the other side flat. Check which side has the angled grind before you start.
| Edge type | How to sharpen | How often |
|---|---|---|
| Serrated | Tapered rod, one scallop at a time | Rarely; when it starts to tear food |
| Micro-serrated | Usually not practical | Replace when dull |
| Plain | Stone, rod or manual sharpener | Every few months |
Step 2: Sharpening Serrated Miracle Blades
What You Need
- A tapered ceramic or diamond rod that fits inside the scallops.
- A permanent marker to check your angle.
- Good light and a stable surface.
The Method
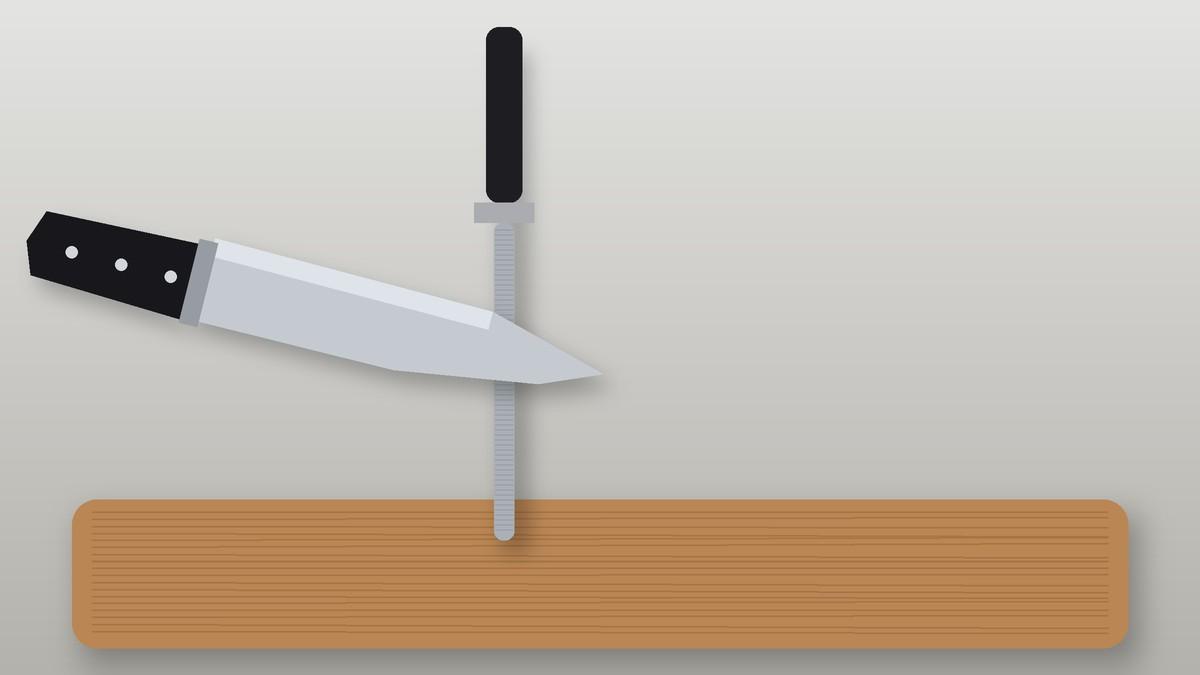
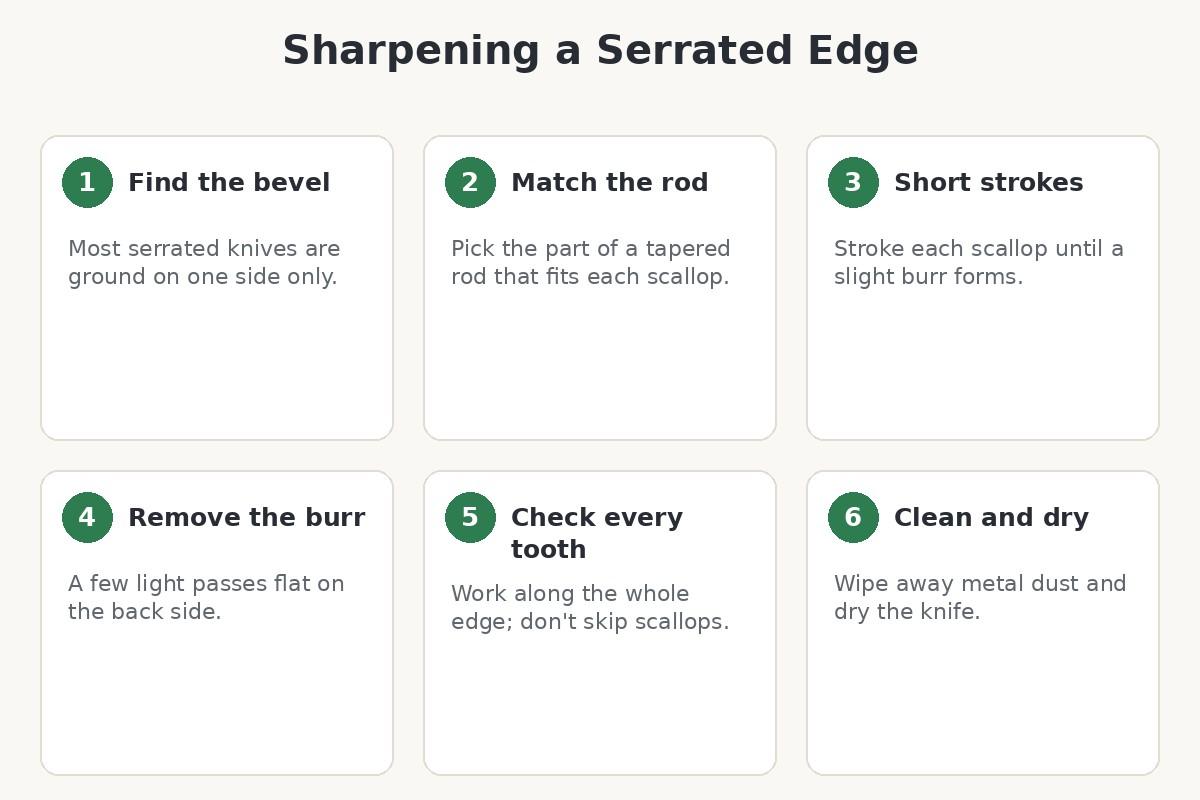
Color the beveled side of the serrations with the marker. Rest the rod in the first scallop at the same angle as the existing bevel, choosing the part of the taper that fills the scallop without being too wide.
Make short, light strokes away from the edge until the ink is gone and you can feel a small burr on the flat side. Move to the next scallop and repeat along the whole blade.
Finally, lay the flat side on a fine stone or the rod and make a few light passes to remove the burr. Outdoor Life’s serrated sharpening guide describes the same match-the-angle, raise-a-burr, remove-the-burr approach.
Choosing a Tapered Rod
Look for a rod that tapers from very thin at the tip to a few millimeters at the base, so one rod fits both small and large scallops. Ceramic rods give a fine finish; diamond rods remove metal faster on very dull edges.
Some pocket sharpeners include a small tapered rod alongside V-slots, which is handy if you only have a few serrated knives. Use only the rod on serrations, not the V-slots.
No Rod? An Improvised Option
Wrap fine wet-and-dry sandpaper, around 600 grit, tightly around a pencil or thin wooden dowel. Use it like a tapered rod, one scallop at a time, keeping strokes short and light.
It’s slower than a proper rod and the paper wears quickly, but it works for an occasional touch-up. Replace the paper as soon as it stops cutting.
Sharpening the Kitchen Shears
Many knife sets include shears. Open them fully and sharpen only the beveled edge of each blade on a fine stone or with a flat diamond file, keeping the original angle.
Never sharpen the flat inner faces, which must stay flat for the blades to cut. If the shears have micro-serrations on one blade, leave that side alone.
Tools to Avoid
Two-sided pull-through and electric sharpeners grind both sides of the edge and flatten serrations. Food site Chowhound also warns against two-sided tools for serrated knives and recommends working each groove individually.
Step 3: Sharpening Plain-Edge Miracle Blades
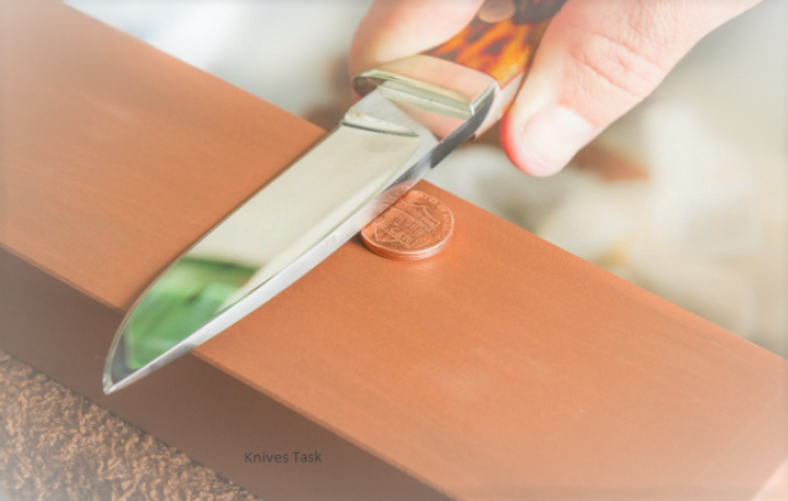
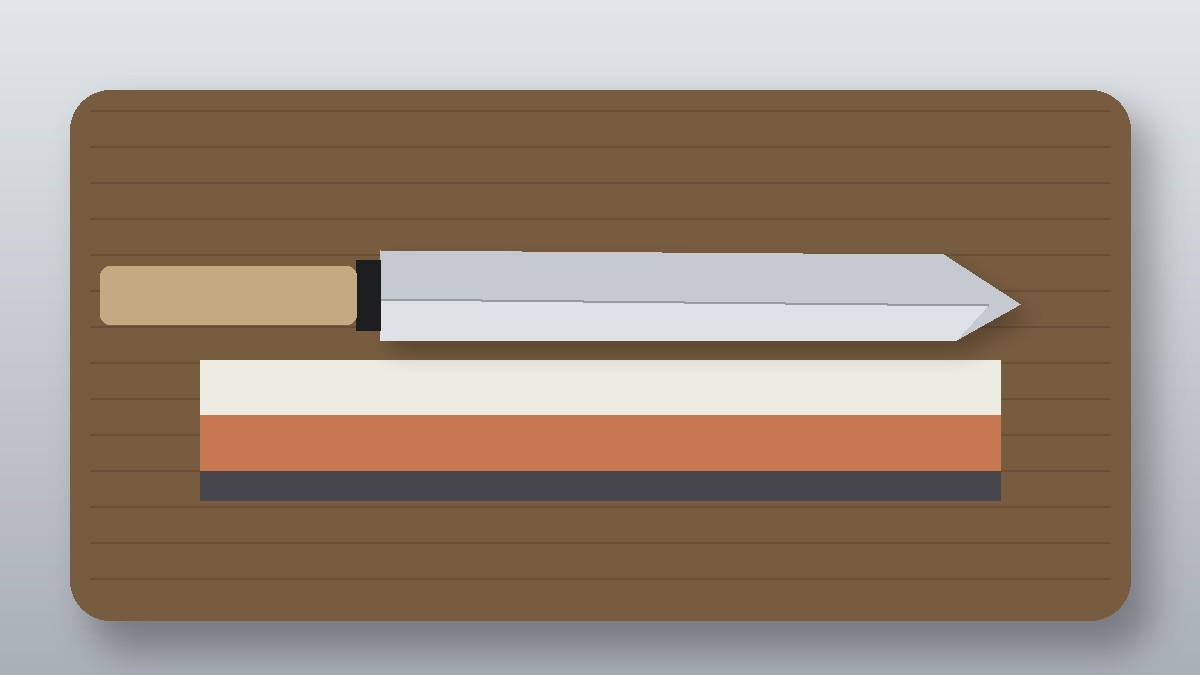
Straight-edged pieces can be sharpened like any inexpensive stainless kitchen knife. Use a medium whetstone, a ceramic rod or a quality manual sharpener at about 15 to 20 degrees per side.
Raise a burr on one side, switch sides, then refine with lighter strokes. Our guide to sharpening with a rod covers the rod method step by step.
Professional Sharpening
Many knife shops and some kitchen stores sharpen serrated knives using machines with small profiled wheels. It’s worth asking, especially if you have several dull serrated knives at once.
For budget knives, compare the sharpening price with the cost of a replacement first. For better-quality serrated knives, such as a good bread knife, professional sharpening is usually worth it.
Common Sharpening Mistakes
- Using a rod that’s too thick, which widens and distorts the scallops.
- Sharpening the flat side, which changes the edge geometry.
- Long, heavy strokes that round off the teeth.
- Skipping scallops, leaving dull spots along the edge.
Is It Worth Sharpening?
Miracle Blade knives are inexpensive, and some owners find that a dull serrated knife is quicker to replace than to sharpen tooth by tooth. That’s a reasonable choice for budget knives.
If you enjoy maintaining your knives or want to keep a matching set, sharpening serrations takes 10 to 15 minutes once you’re practiced.
If you’re replacing a serrated knife, a dedicated bread knife is a good upgrade. See our guide to the best bread knives.
How to Tell When It Needs Sharpening
- Tomatoes crush before the skin breaks.
- Crusty bread tears or needs heavy sawing.
- The knife skates on smooth-skinned fruit.
- You see bent or flattened teeth along the edge.
Keeping Miracle Blades Sharp Longer
- Cut on wood or plastic, never on plates, glass or stone.
- Hand wash and dry; dishwashers knock edges against other items.
- Store in the block or with guards rather than loose in a drawer.
- Don’t use the knives to cut frozen food or bones.
Safety While Sharpening
Serrated sharpening means working close to the edge, so go slowly and keep your fingers behind the rod. The UK Health and Safety Executive’s guidance on safe use of knives recommends training in safe sharpening methods and taking care when handling sharp blades.
Wipe the blade afterward to remove metal particles, and wash it before using it on food. Rinse the rod too, so metal dust doesn’t clog it before the next session.
If you’re new to sharpening, practice on your cheapest serrated knife first. The technique becomes much faster after a few tries.
Serrated vs Plain: Which Lasts Longer?
Serrated edges stay useful longer because the points do most of the cutting while the scallops are protected from the board. That’s one reason serrated infomercial knives seem to “never need sharpening” at first.
Once the points wear down, though, serrated edges are harder to restore. Plain edges dull sooner but are quick and easy to bring back.
Frequently Asked Questions
Can you sharpen Miracle Blade knives?
Yes. Use a tapered rod for serrated pieces and a stone or rod for plain edges.
Can I use an electric sharpener on a Miracle Blade?
Not on serrated pieces; two-sided sharpeners flatten the serrations.
Which side of a serrated knife do I sharpen?
The beveled side; just remove the burr from the flat side.
How often do serrated knives need sharpening?
Rarely; usually only when they start tearing food.
Is it better to replace a dull Miracle Blade?
For inexpensive knives, replacing can be simpler, but sharpening works if you’re patient.