Quick Summary
- Angle: most santokus are double-bevel at about 10–16° per side; follow your maker’s angle.
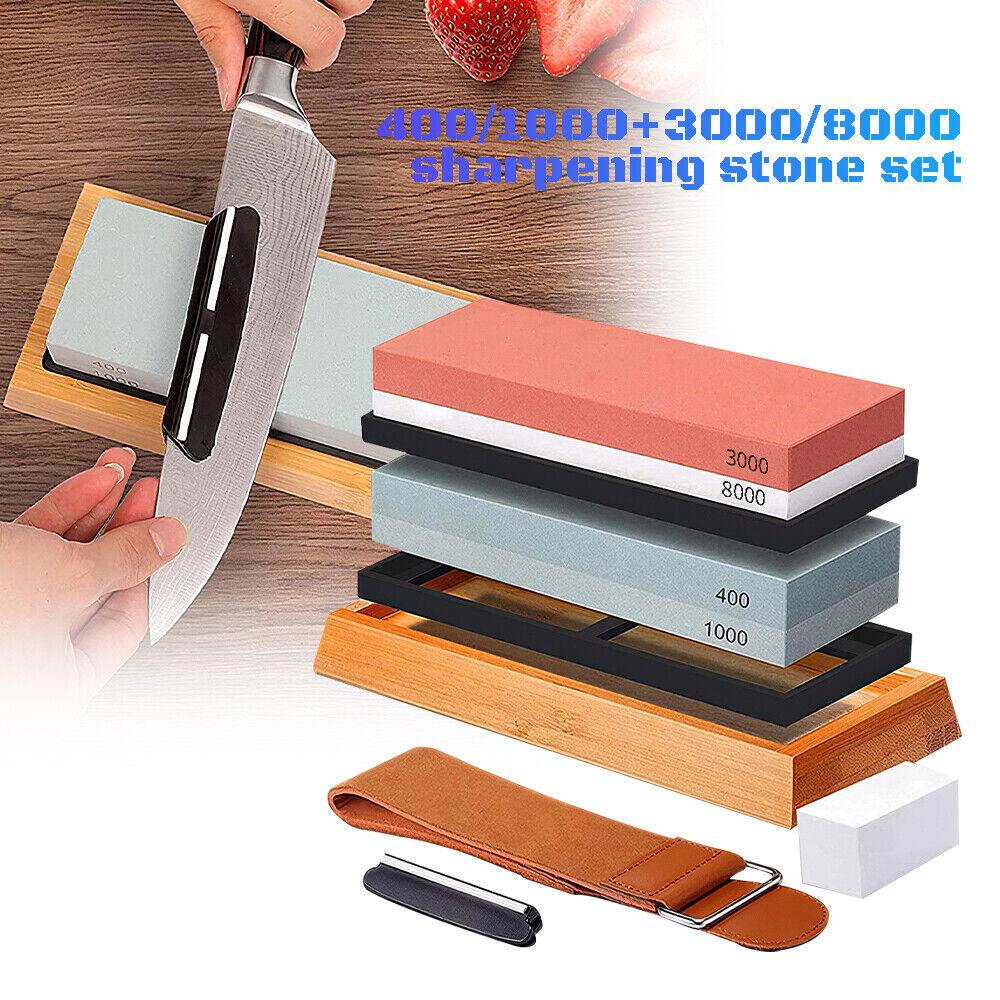
- Best method: a whetstone, using about 1000 grit to sharpen and 3000–6000 to refine.
- The tip: lift the handle slightly as you reach the rounded tip to keep the angle on the curve.
- Hone gently with a few light strokes on a ceramic rod, not for minutes at a time.
- Avoid coarse pull-through sharpeners on hard Japanese santokus.
Knives Task is reader-supported: if you buy through a link on this page, we may earn a small Amazon commission at no extra cost to you. That never changes which knives we recommend.
A santoku’s flat edge and thin blade make it one of the easiest kitchen knives to sharpen well. The main things to get right are the angle and the rounded tip.
If you’re new to santokus, read what a santoku is used for first. This guide focuses on keeping one sharp.
What Angle Should a Santoku Be Sharpened At?
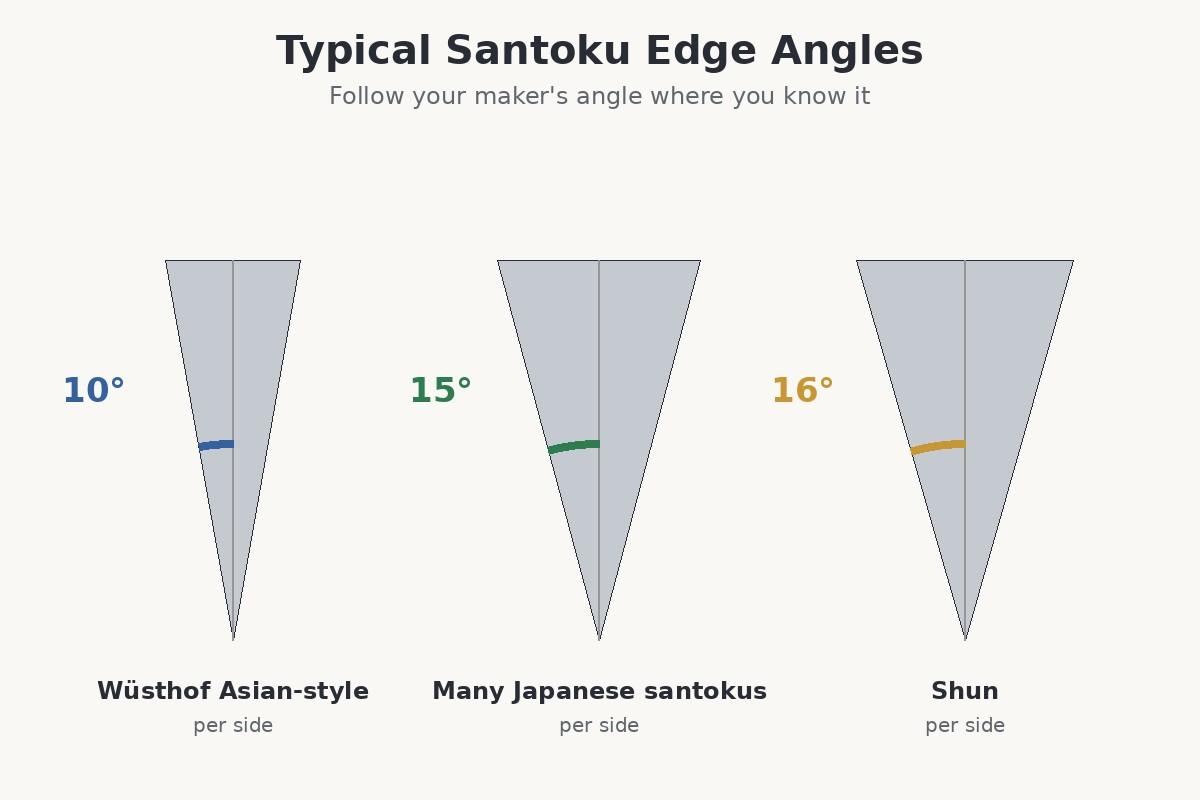
Most santokus sold in Western markets are double-bevel, sharpened equally on both sides. Our older version of this article said they’re single-bevel, which applies only to some traditional Japanese models.
| Santoku type | Typical angle per side |
|---|---|
| Japanese (Shun, Global, Miyabi) | About 10–16° |
| German (Wüsthof, Zwilling) | About 10–15° |
| Budget or unknown | Match the existing bevel, about 15° |
Wüsthof’s sharpening guide recommends 10 degrees when honing its Asian-style knives such as santokus. Shun sharpens its knives to 16 degrees, and its whetstone system includes a 16-degree guide.
Sharpening a Santoku on a Whetstone
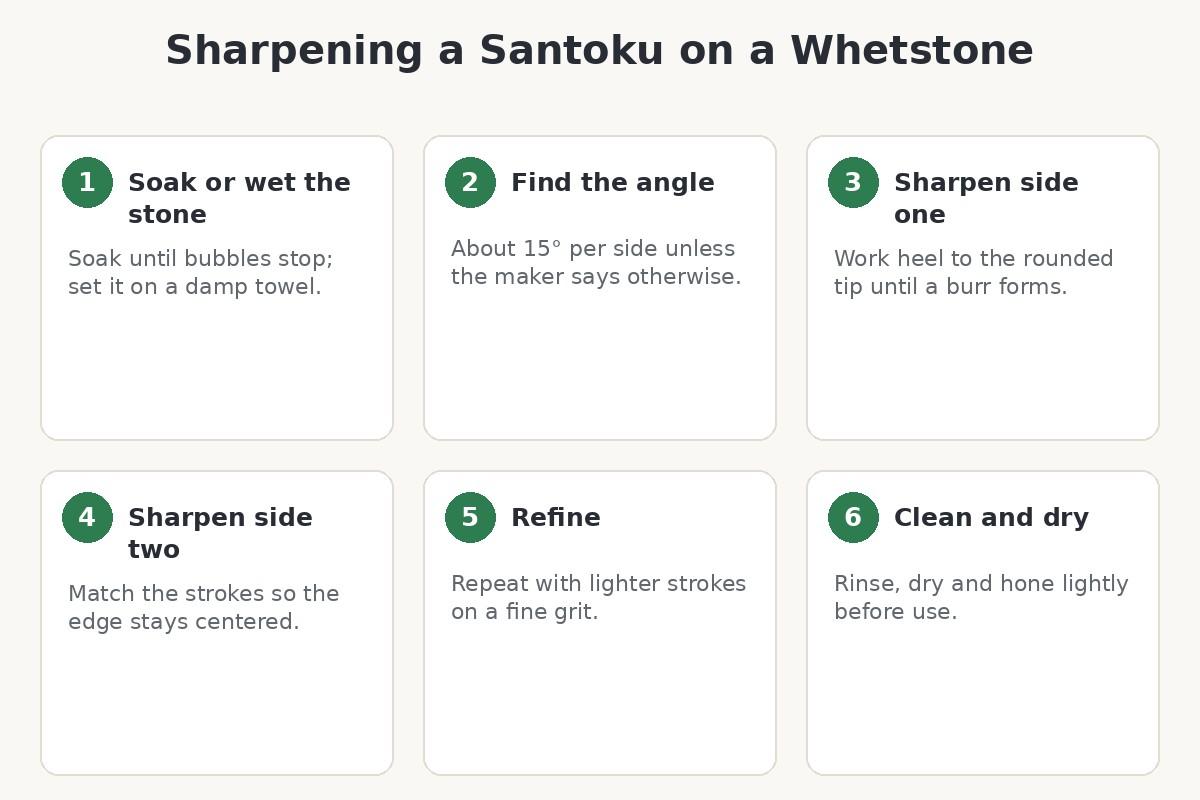
1. Prepare the Stone
Soak a water stone until bubbles stop, usually 10 to 15 minutes, or simply wet a splash-and-go stone. Set it on a damp towel or holder so it can’t slide.
2. Set the Angle
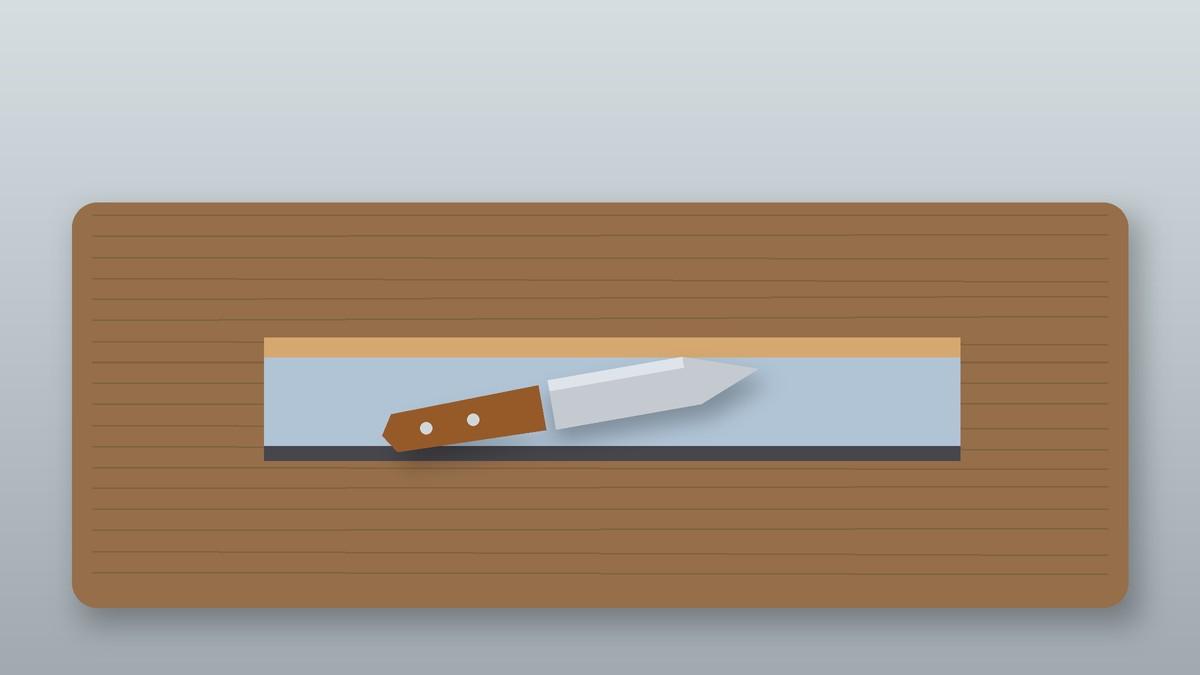
Lay the blade flat on the stone, then raise the spine until the edge meets the stone at your target angle. A clip-on angle guide helps if you’re unsure.
3. Sharpen the First Side
Start at the heel and push the blade across the stone, sweeping toward the tip. Keep light, even pressure on the edge with the fingertips of your other hand.
Continue until you can feel a small burr along the whole opposite side. Check by brushing your thumb from spine to edge, never along it.
4. Handle the Rounded Tip
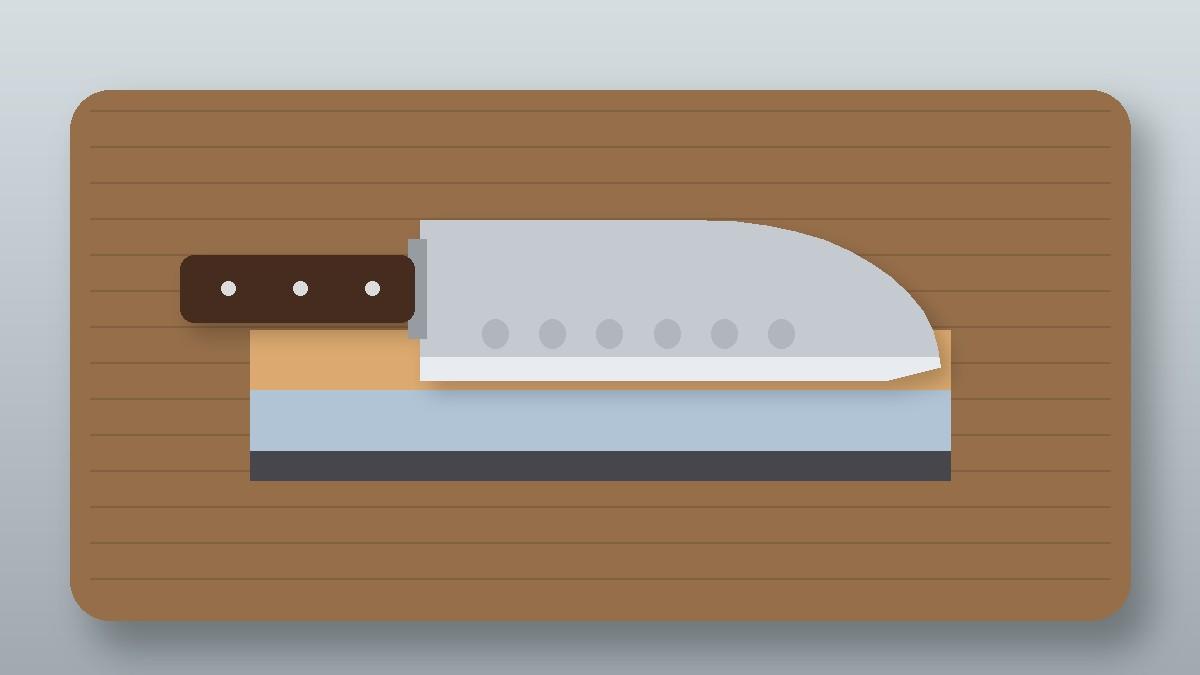
A santoku’s spine curves down to meet the edge at the tip. As you reach that curve, lift the handle slightly so the curved section stays in contact with the stone at the same angle.
Without this lift, the tip area is often left dull while the straight section gets sharp. Take a few extra strokes on the curve if a marker test shows ink still left near the tip.
Be gentle at the very point, since thin tips can be over-ground quickly and lose their shape.
5. Sharpen the Second Side
Flip the knife and repeat with the same number of strokes. Matching strokes keeps the edge centered and the blade cutting straight.
6. Refine and Deburr
Move to a 3000 to 6000-grit stone and repeat both sides with lighter strokes. Finish with a few alternating single strokes to remove the burr, then rinse and dry the knife.
Our older guide said to sharpen each side for 10 to 15 minutes. That’s far too long for routine sharpening and wastes steel; stop as soon as a burr has formed along the full edge.
Hollow-Edge (Granton) Santokus
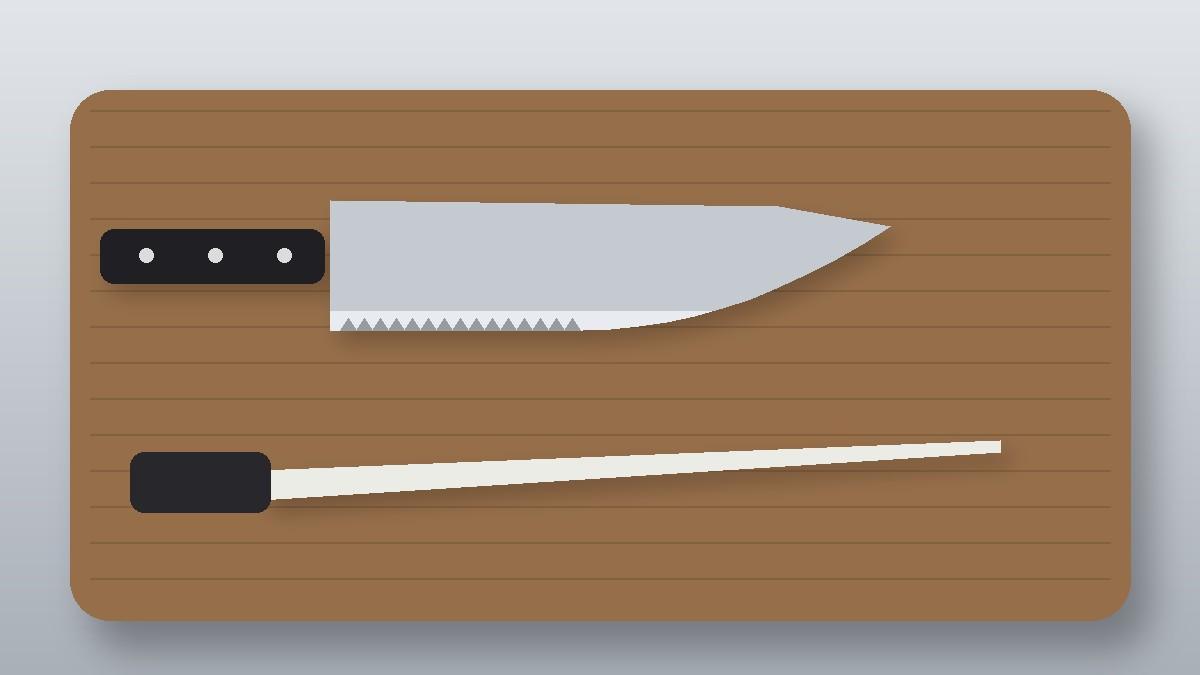
Many santokus have scallops ground into the blade above the edge. They don’t change how you sharpen, since you only work on the edge bevel.
After many years of sharpening, the edge can wear up into the scallops. That’s normal and doesn’t affect cutting much.
Signs Your Santoku Needs Sharpening
- Tomatoes squash before the skin splits.
- Onion layers slide instead of being cut cleanly.
- Herbs bruise and turn dark rather than being sliced.
- You press harder than you used to for the same cut.
A sharp santoku should glide through these foods with very little pressure. If honing doesn’t fix the problem, sharpen.
Checking Your Work With a Marker
Color the edge bevel with a felt-tip marker before you start. After a few strokes, look at where the ink has gone.
If the ink is gone only from the shoulder of the bevel, your angle is too low. If it’s gone only from the very edge, your angle is too high; adjust until the whole bevel is cleaned evenly.
This simple check is one of the fastest ways to learn a consistent angle, and it works on any knife.
Honing Between Sharpenings
Honing straightens an edge that has rolled slightly with use. Hold a ceramic rod upright on a damp towel and draw the blade down it at your sharpening angle, three to five light strokes per side.
Our older guide said to hone for 5 to 10 minutes per side, which is far too much. A few seconds before cooking is all that’s needed.
Use a ceramic rod rather than a coarse steel on hard Japanese santokus, which can chip.
Other Sharpening Options
| Method | Pros | Cons |
|---|---|---|
| Whetstone | Best edge, works on any steel | Takes practice |
| Guided sharpener | Consistent angle, easy to learn | Set-up time |
| Quality manual sharpener | Fast and simple | Fixed angle may not match your knife |
| Electric sharpener | Very fast | Removes more steel; check the angle |
| Brand sharpening service | Expert result | Days without your knife |
Avoid cheap pull-through sharpeners with carbide slots on hard Japanese santokus; they can tear the edge rather than grind it.
Common Mistakes
- Leaving the tip dull by not lifting the handle on the curve.
- Using the wrong angle, especially sharpening a 15° knife at 20°.
- Pressing too hard on thin Japanese edges.
- Skipping the deburr, which leaves a wire edge that dulls quickly.
- Cutting on glass or stone boards, which undoes your work.
How Often to Sharpen
For most home cooks, a santoku needs sharpening every two to four months, with light honing before use. If it slides on tomato skin even after honing, it’s time to sharpen.
Keep it sharp longer by cutting on wood or soft plastic, hand washing and drying straight away, and avoiding bones and frozen food.
If you’re shopping for a new one, our guide to the best santoku knives covers options at every price, and our Shun sharpening guide covers Shun’s 16-degree method in detail.
Recommended Gear
A combination 1000/6000-grit whetstone covers sharpening and refining for most santokus. Good knives to practice on include the Shun Premier 7-inch santoku, which uses Shun’s 16-degree edge.
Learn more about the santoku’s design in Wikipedia’s santoku entry.
Frequently Asked Questions
What angle do you sharpen a santoku at?
Usually 10–16° per side; follow your maker’s angle or match the existing bevel.
Are santoku knives single or double bevel?
Most sold in Western markets are double-bevel.
Can I use a pull-through sharpener on a santoku?
Avoid cheap carbide pull-throughs on hard Japanese santokus; they can damage the edge.
How do I sharpen the rounded tip?
Lift the handle slightly as you reach the curve so the angle stays consistent.
How often should I hone a santoku?
A few light strokes before most uses is enough.