You might be facing the issue of need a knife, but that should be forged. You’re good to work without anybody’s help if you can manage things that you need for forging your knife. All you require to perform is to get a piece of steel to forge your knife. And you have to give it a shape to and make it on an anvil after heating to forge it. Do you find it challenging to do your own? Well, let’s make things simpler for you. It’s the article where I’ll teach you the way of forging your knife even if you’re a beginner. So, let’s get started how to forge a knife for beginners.
Safety: First & Must Thing
Forging a knife means you’re going to cope with fire, hammer, iron, and hot steel. As a result, it would be best if you did not underestimate of taking essential precautions.
It would be best if you had some safety gears to include eyewear that will protect your eyes from spark and flame of fire and high-quality gloves.
Tools You’ll Need
To forge your knife, you’ll need some tools. The tools include forge, anvil, hammer, fire tools, tongs or big pliers, hot cutter and quench tub. Also, you should have file, grinder, and fuel for forge along with good quality steel.
Here we go to see that way of forging a knife:
Heat The Steel Piece
It’s time to light your forge. You’ll see a hot orange or red area inside it. You have to keep the steel in this specific area to warm it faster. You’ll need a part of steel since you’re about to prepare a knife.
When you are working a straight sheet of steel, you’ll make the initial stuff much better. But if you’ve come with a piece of metal in the morning, you ought to make it straight first.
Place metal inside the forge. The fire inside the forge should be approximately 2200 ° F. Take it out of the forge and placed on an anvil as it turns into orange or yellow color.
Shape This Straight
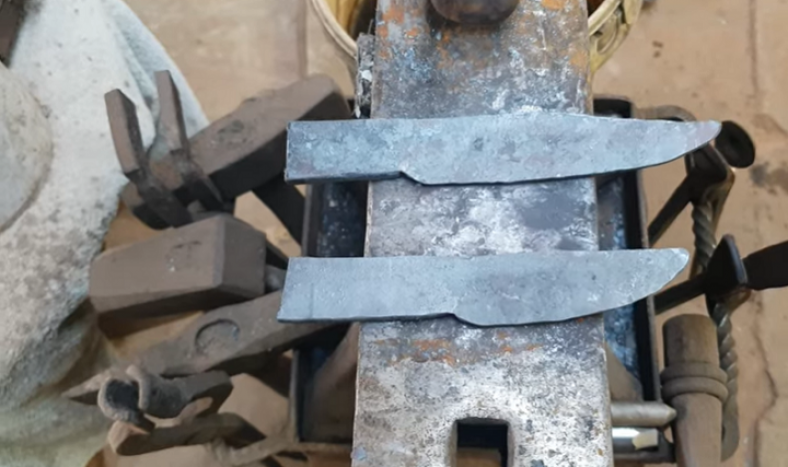
You can shape this straight using the hammer after the metal becomes hot. You have to keep the back of the metal in the fire if you find it turns to cool down or red. Continue hammering your metal until the correct shape is produced.
When you’re done with the metal giving structure, then the real game starts. Bear in mind that forging a knife is a long process and you can not efficiently complete one section of the knife at a time.
Get Ready The Handle
Don’t forget one thing: you should make a room about 2″ or 3″ for placing the handle. So, choose which side is for making the blade and which side is for keeping the handle.
You will have to design the blade in such a manner that the tip of the sword will be the smooth side, and the base will be the bent side.
Place the metal inside the forge and pull it out when it’s time to hammer, place the handle area on the edge of the anvil and strike the area with a hammer on and off the anvil by half. When the outline of the handle is formed, it will start to look like a knife.
Cut off Its Additional Part
This time you have to cut down the additional part of the forged metal. You may allow this metal to become cold and cut the metal with an angle grinder or hacksaw.
You can even hack it off though by using an anvil’s edge to dent it. Take a piece of spring flat and smooth, and keep it in the screw. Now line up the boundary with the hammer that you intend to break and strike there.
Then push it partly through the hammer and then hammer it again somewhat around. Take it with tongs now, and twist it until it splits.
Harden & Shape the Knife
Concentrate on its blade when you have prepared the handle. Remember that it’ll cause its blade to curve on the spine. Now you should get the entire blade orange so that you can harden the knife.
You should test the blade on whether or not it’s able to harden. Use a magnet to measure the razor. When you note that the blade becomes non-magnetic, it means that the blade can harden and you can quench it.
After making the blade rough enough, you can do it anneal for three-time. That means it’ll need you to make it red hot three times. And put it on air to be cool until there is no sign of reddish or orange color.
Temper & Finish
So, you have hardened the blade. Now, you need to temper its steel. You should put it in an oven at 250°F to 350°F. It’ll get some hardness and some versatility will keep back in. Now, make a pointy tang and insert a woodblock into the file to form it.
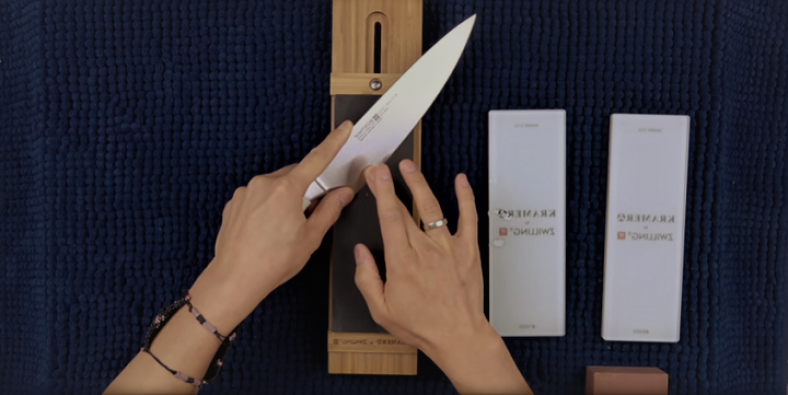
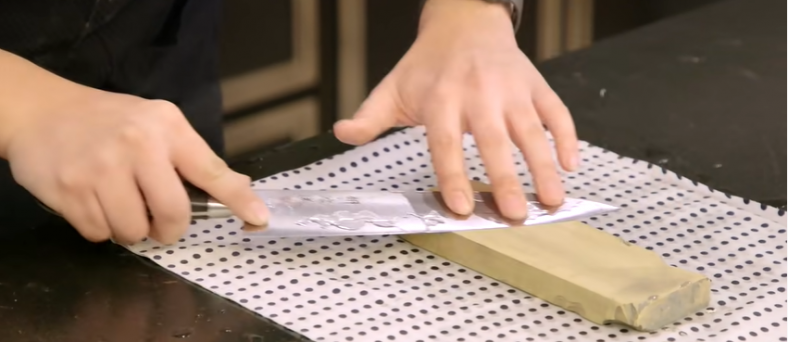
Or, the handle can be personalized the way you wish. Sharpen the knife with a whetstone followed by a delicate file for finishing polish. A leather strop can be used to extract any burr and the razor-sharp.
The Bottom Line
Now, you learned how to forge a blade. It means that you can forge any metal item by now. Again, we should make you remember that forging a knife means you’re dealing with hot steel, which is very risky.
So, take enough safety precautions before you start working on it.
