Quick Summary
- Consistency is everything: hold the same angle on every stroke.
- Raise a burr along the whole edge on a medium stone before moving on.
- Refine on a fine stone (3000–6000 grit) and remove the burr with light alternating strokes.
- Strop on leather, spine first, for the final razor polish.
- Test safely on paper or a tomato, never by shaving your arm or touching the edge.
A truly razor-sharp edge isn’t about expensive gear. It comes from three things: a consistent angle, fully removing the burr, and finishing on progressively finer abrasives.
This guide walks through the full process for kitchen and outdoor knives. For a beginner’s walkthrough of using a stone, see how to sharpen kitchen knives with a stone.
What Makes an Edge Razor Sharp?
An edge is sharpest where two flat bevels meet in a clean, narrow apex with no burr or rolled steel. Coarse stones create the bevels; fine stones and stropping polish the apex until it’s smooth.
Steel matters too. Fine-grained steels such as 1095 carbon, 52100 and good Japanese stainless take a keener edge than soft, coarse-grained budget steels.
Step 1: Choose Your Angle
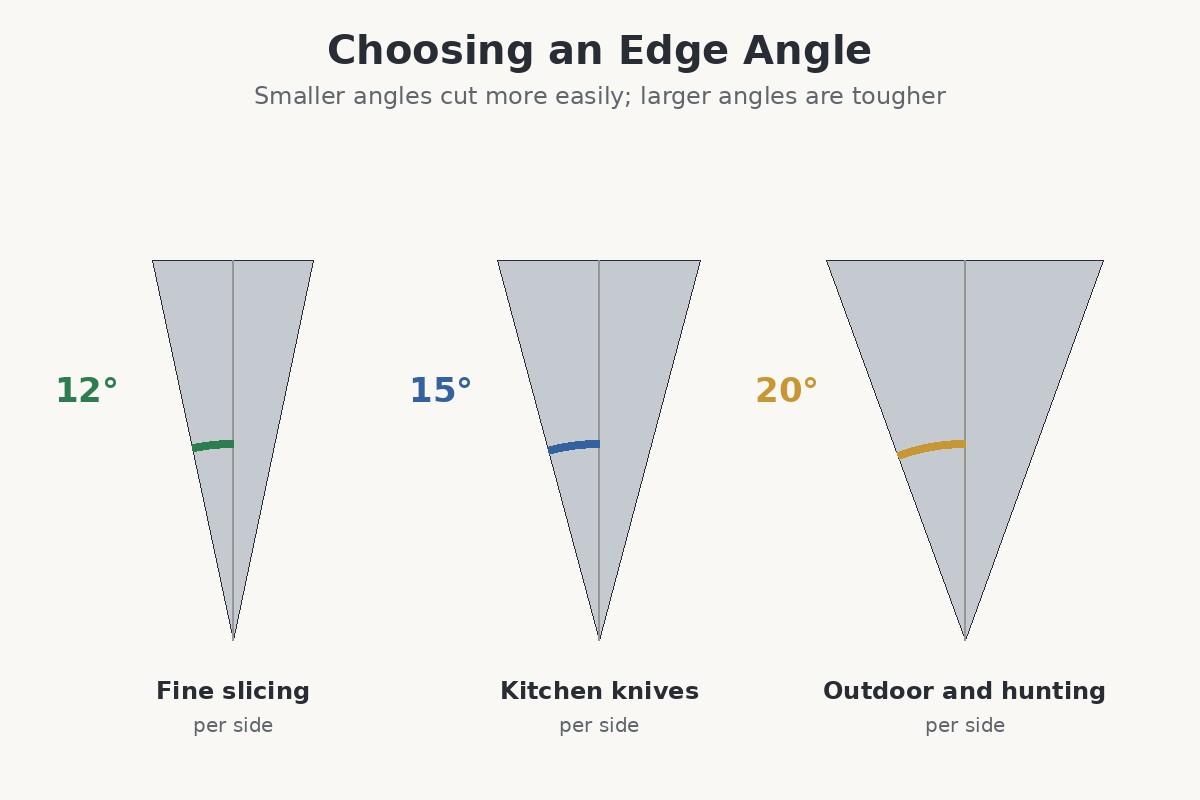
| Knife | Typical angle per side |
|---|---|
| Japanese kitchen knives | About 12–16° |
| Western kitchen knives | About 14–20° |
| Pocket and EDC knives | About 17–20° |
| Hunting and outdoor knives | About 18–25° |
Wüsthof, for example, recommends about 14.5 degrees per side for its standard knives in its sharpening guide.
If you don’t know your knife’s angle, match the existing bevel. Our guide to what angle to sharpen kitchen knives goes deeper.
Step 2: Raise a Burr on a Medium Stone
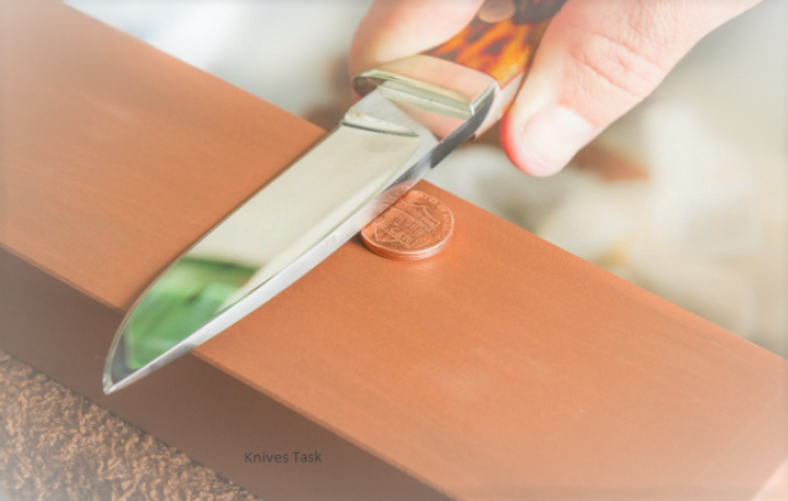
Start on a medium stone around 1000 grit. Hold the angle and sharpen one side from heel to tip in smooth, even strokes.
Keep going until you can feel a slight burr, a tiny lip of metal, along the entire opposite side. Check by brushing your thumb from the spine toward the edge, never along it.
Then sharpen the other side until the burr flips back. If the burr isn’t continuous, you haven’t reached the apex everywhere yet.
Use a coarser stone (around 400 grit) only if the knife is very dull or chipped. For help choosing stones, read what grit whetstone to use.
Step 3: Refine on a Fine Stone
Move to a fine stone between 3000 and 6000 grit. Repeat the process with lighter pressure to replace coarse scratches with finer ones.
Shun, for example, pairs a 1000-grit and 6000-grit stone in its whetstone system, a common progression for kitchen knives.
Step 4: Remove the Burr
A leftover burr is the most common reason a freshly sharpened knife feels dull after a few cuts. Finish on the fine stone with alternating single strokes, one per side, using very light pressure.
You can also draw the edge gently through a piece of soft wood or cork to pull off any remaining wire edge.
Step 5: Strop for a Razor Edge
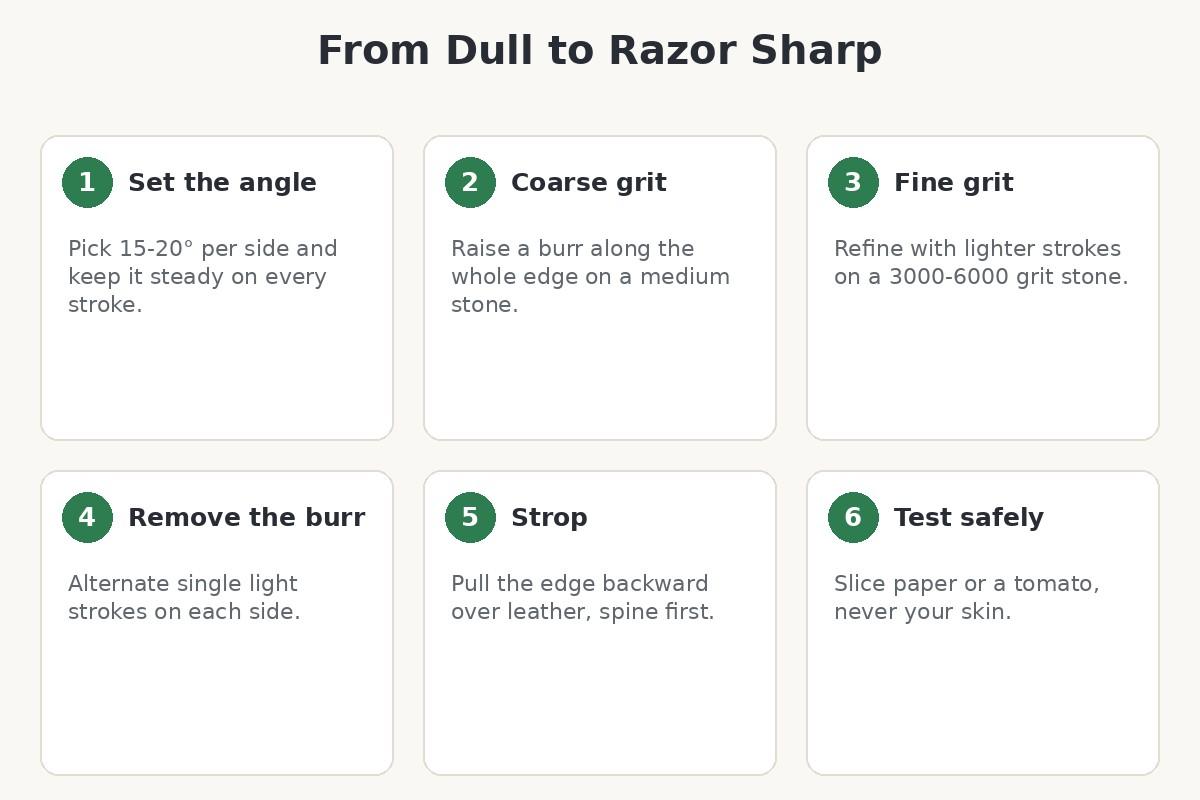
Stropping polishes and aligns the apex. Lay the blade almost flat on a leather strop, raise the spine to your sharpening angle, and pull the knife backward, spine first, so the edge trails.
Do 10 to 20 light strokes per side, alternating. A strop loaded with fine polishing compound speeds things up.
Step 6: Test the Edge Safely
Slice a sheet of printer paper held in the air; a razor edge glides through smoothly without tearing. A ripe tomato should yield to the edge with almost no pressure.
Our older version of this article suggested testing by shaving hair off your arm or shin. We don’t recommend it; it’s an easy way to cut yourself.
Choosing a Strop and Compound
A strop is simply a strip of leather glued to a flat wooden paddle, or a hanging leather strap. A paddle strop is easier for beginners because it stays flat.
Bare leather works well for gentle polishing. Adding a fine compound, often green chromium oxide or a diamond paste of a few microns, makes the strop more aggressive and speeds up the final polish.
Keep the strop clean and covered when not in use, since grit picked up from the bench will scratch the edge.
How Sharp Can Different Steels Get?
| Steel type | Examples | Edge potential |
|---|---|---|
| Fine-grained carbon | 1095, 52100, Shirogami | Extremely keen, easy to sharpen |
| Japanese stainless | VG-10, VG-MAX, SG2 | Very keen, holds it well |
| German stainless | X50CrMoV15 | Sharp, tough, needs more honing |
| Budget stainless | 420, 420J2 | Sharpens easily but dulls fast |
Hard, fine-grained steels support thinner, keener edges. Softer steels can be made very sharp too, but the edge rolls sooner.
How Often Should You Sharpen?
Most home cooks need a full sharpening every two to four months, with light honing or stropping in between. Outdoor knives used for wood carving may need touching up after every trip.
Sharpen when honing no longer restores the edge, not on a fixed schedule. Over-sharpening wastes steel and shortens the knife’s life.
Guided Systems vs Freehand
Guided systems clamp the knife or hold the stone at a fixed angle, which makes consistency easy. They’re a good choice if you struggle to hold an angle freehand.
Freehand sharpening on whetstones takes practice but is faster once learned and works on any blade shape. Many people start with a guide and move to freehand later.
Ceramic rod sharpeners set in a V-block are another simple option for maintaining an edge between full sharpenings.
Sharpening Serrated and Recurved Blades
Serrated edges need a tapered ceramic rod that fits each scallop. Sharpen only the beveled side, matching its angle, then remove the burr from the flat side with a light pass.
Recurved blades, which curve inward near the handle, can’t be fully sharpened on a flat stone. Use the edge of the stone, a rod or a narrow diamond file for the inward curve.
These edges rarely reach true razor sharpness, but they can be made very sharp and keep working for a long time.
Common Mistakes
- Changing the angle mid-stroke, which rounds the edge.
- Moving to fine grits too soon, before a burr has formed along the whole edge.
- Pressing too hard, especially on fine stones.
- Leaving the burr, which makes the edge fold and dull quickly.
- Skipping stone maintenance; dished stones create uneven bevels.
Keeping It Sharp
Hone or strop lightly before use, cut on wood or plastic boards, and hand wash and dry the knife. With good habits, a razor edge lasts weeks between sharpenings.
Safety matters at every stage. The UK Health and Safety Executive’s guidance on safe use of knives recommends proper training in sharpening methods and keeping knives sharp, since dull blades slip more.
Frequently Asked Questions
What grit makes a knife razor sharp?
Finish on 3000–6000 grit, then strop on leather.
Why is my knife still dull after sharpening?
Usually the burr wasn’t fully raised or removed, or the angle wasn’t consistent.
Does stropping really help?
Yes. It polishes the apex and removes the last of the burr.
What angle is sharpest?
Lower angles are sharper but less durable; most kitchen knives use about 14–16° per side.
How do I test sharpness safely?
Slice paper or a tomato; never test on skin.