Quick Summary
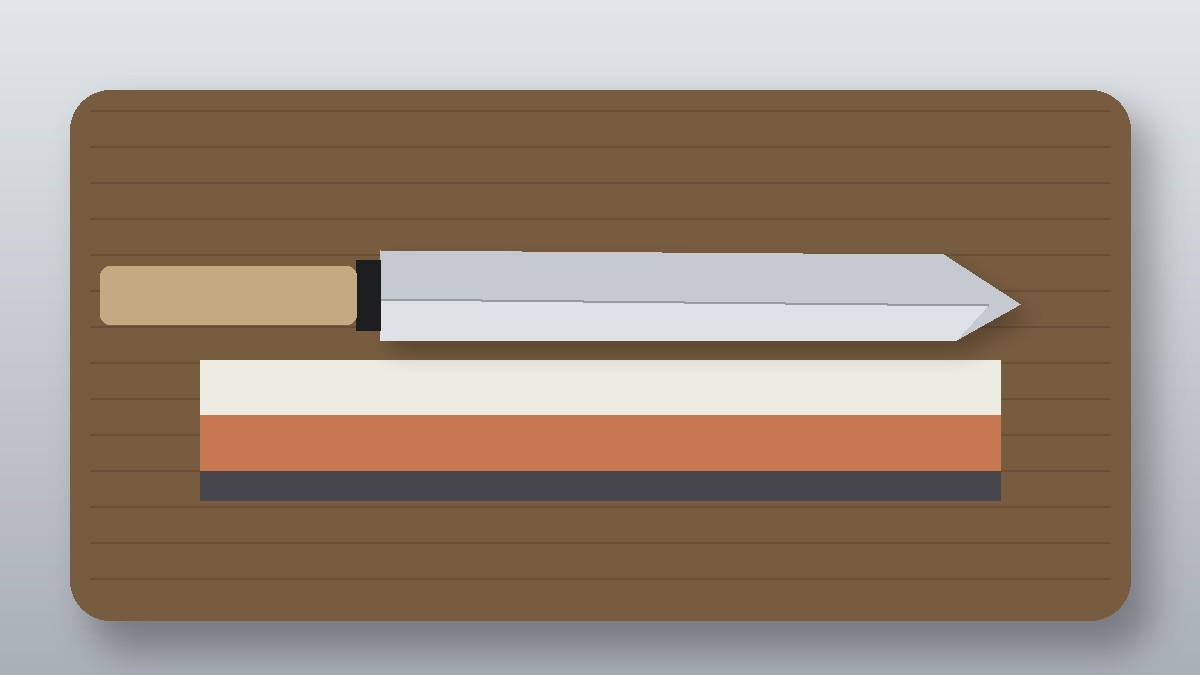
- Know your edge: a traditional sushi knife (yanagiba) is single-bevel, with a flat, slightly hollow back.
- Sharpen the bevel side: lay the whole bevel (kireha) flat on the stone and work until a burr forms.
- Barely touch the back: remove the burr from the flat back (ura) with a few light, flat strokes.
- Use flat stones: roughly 1000 grit to sharpen and 3000–6000+ to finish; flatten stones often.
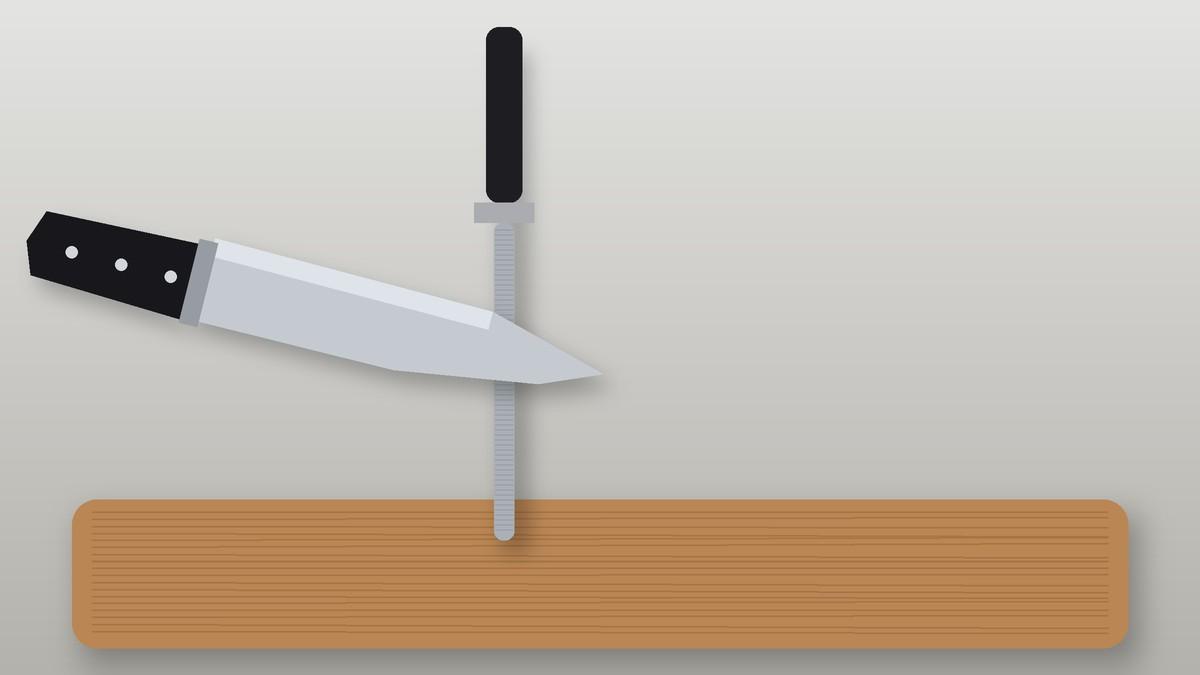
- Don’t: sharpen both sides equally, use pull-through or electric sharpeners, or hone on a steel.
Sushi chefs slice raw fish with long, single-bevel knives called yanagiba. Their edges are extremely keen, and they’re sharpened differently from Western double-bevel knives.
Our older version of this guide treated a sushi knife like any other blade, with advice to sharpen both sides for 10 minutes each and use a honing steel or electric sharpener. Those methods can ruin a single-bevel edge, so we’ve rewritten it.
Single Bevel vs Double Bevel
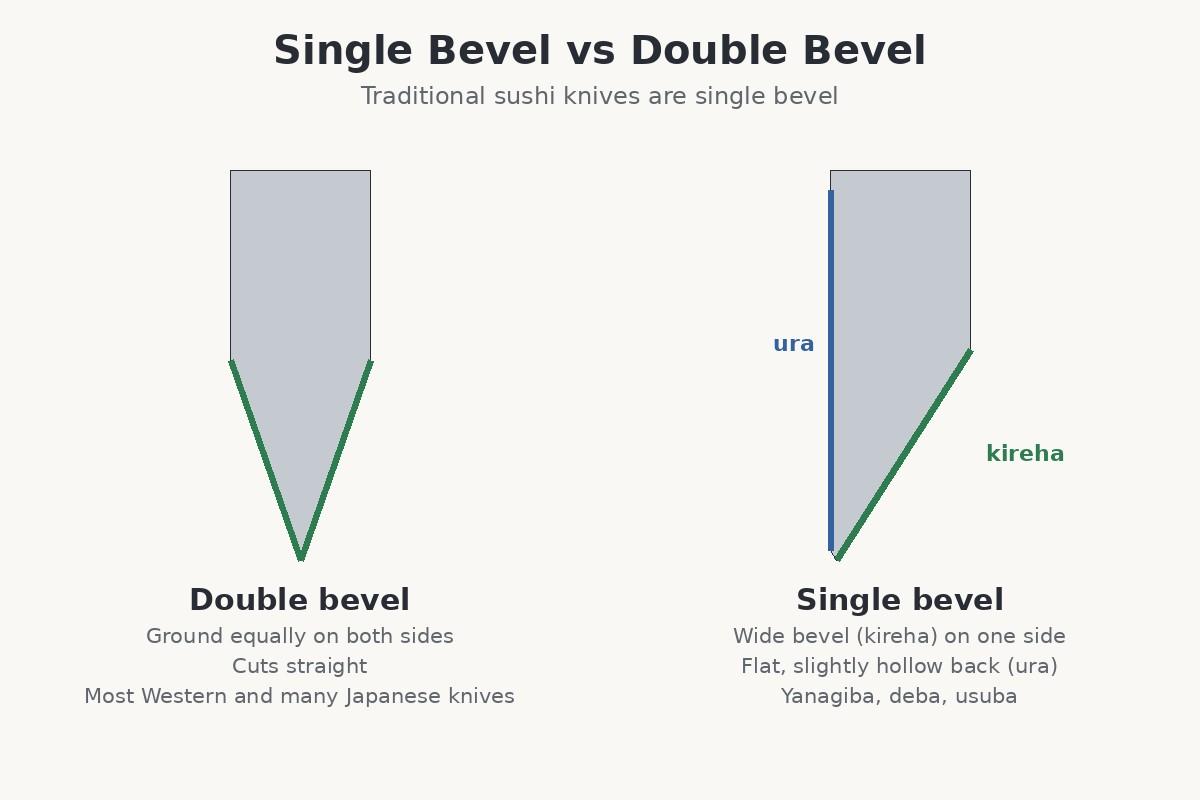
| Part | Japanese name | What it is |
|---|---|---|
| Bevel face | Kireha | The wide, flat bevel you sharpen |
| Bevel line | Shinogi | Where the bevel meets the blade face |
| Back | Ura | The flat side, with a hollow (urasuki) |
| Back flat | Uraoshi | A narrow flat rim along the back edge |
Knifewear’s guide to sharpening single-bevel knives explains these parts well. The key idea is to follow the bevel that’s already there rather than creating a new angle.
Some “sushi knives” sold today are double-bevel. Check your knife: if both sides have a visible bevel, sharpen it like a normal Japanese knife.
What You’ll Need
- A medium stone, about 1000 grit, for sharpening.
- A fine stone, about 3000–6000 grit or higher, for finishing.
- A flattening plate or stone to keep your stones flat.
- A damp towel or stone holder to stop slipping.
- Optional: a coarse stone (about 400 grit) only for chips.
For help choosing stones, see what grit whetstone to use.
Step-by-Step: Sharpening a Yanagiba
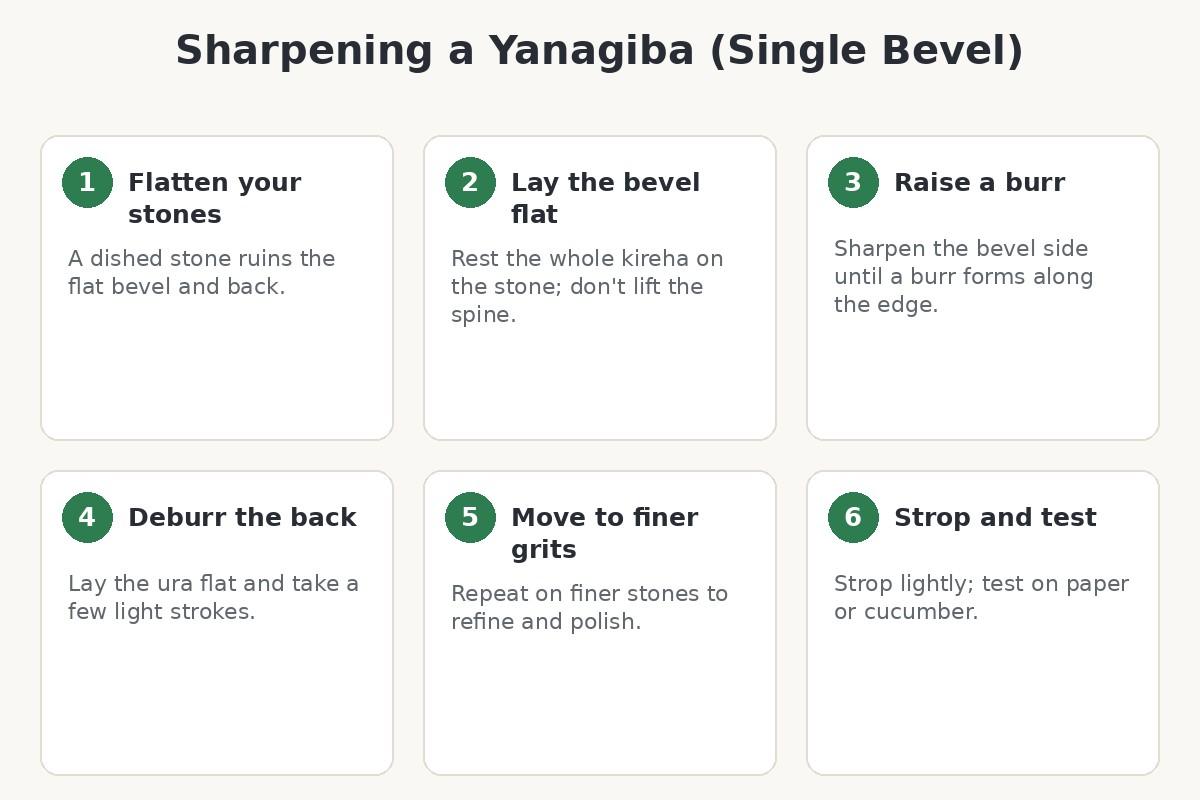
1. Flatten Your Stones
A single-bevel knife relies on a perfectly flat bevel and back. A dished stone rounds them, so flatten your stones before you start and check them often.
2. Lay the Bevel Flat
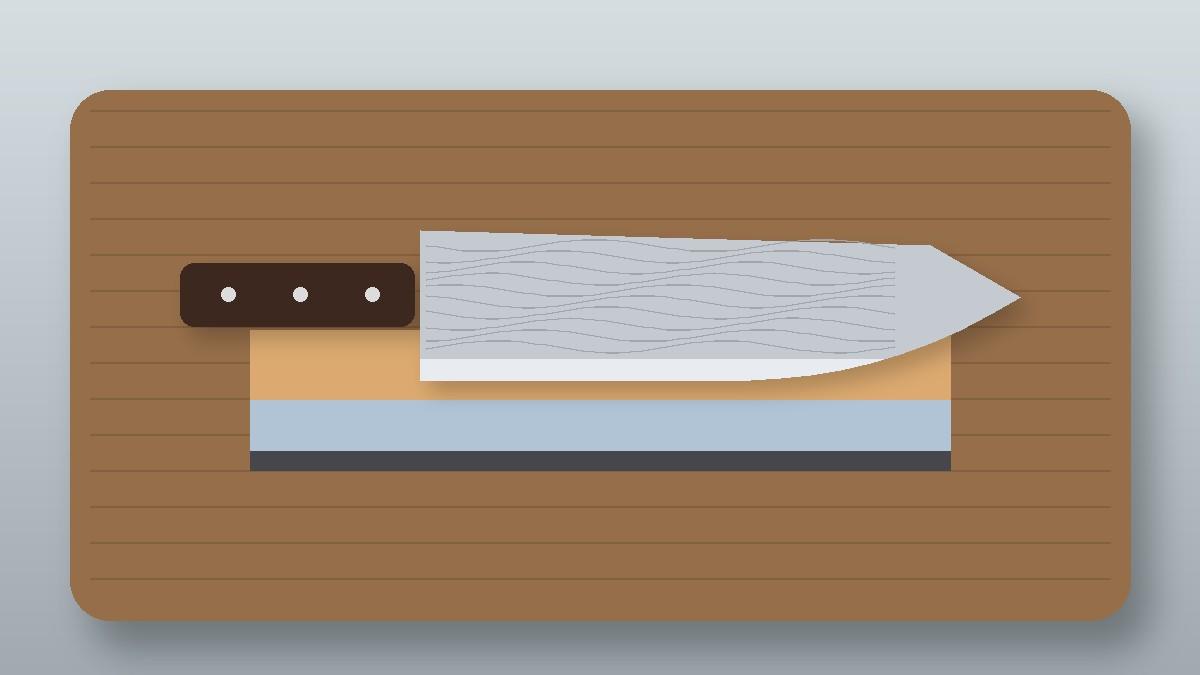
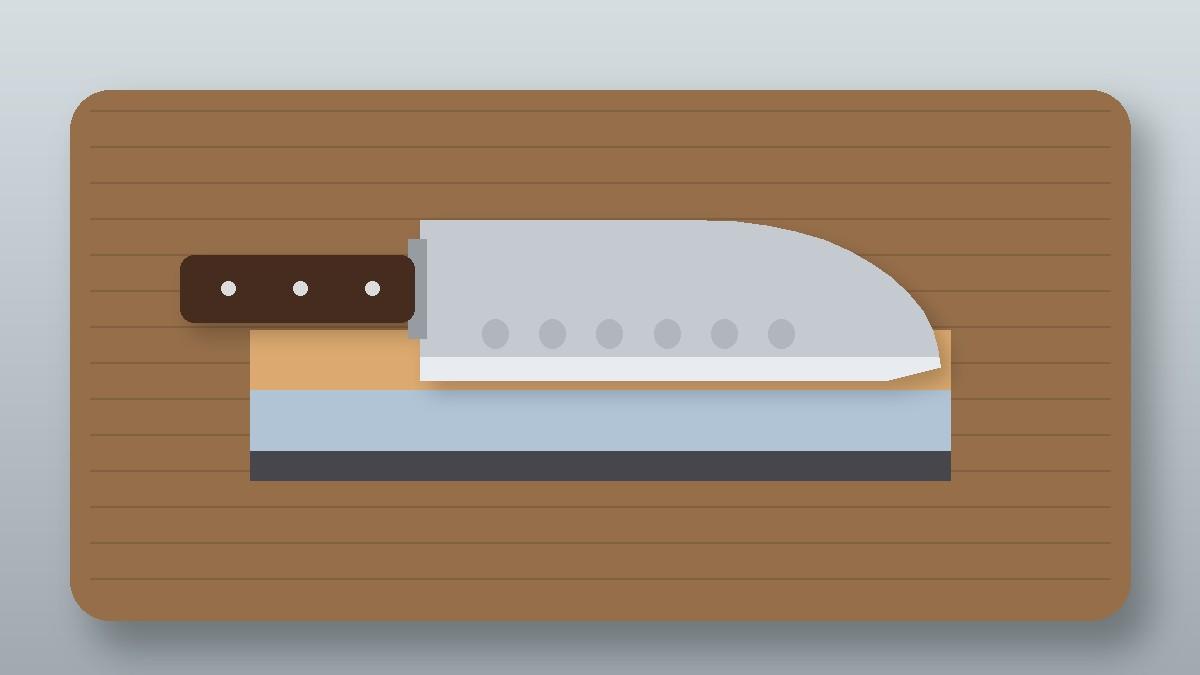
Place the knife bevel-side down so the whole kireha rests flat on the stone. The angle is set by the bevel itself, so don’t lift the spine higher.
Hold the blade diagonally across the stone and press lightly on the bevel with two or three fingers. Work in sections from heel to tip, keeping the bevel in full contact.
3. Raise a Burr
Sharpen until you can feel a fine burr along the whole edge on the flat side. Work evenly so the shinogi line stays straight and parallel to the edge.
4. Deburr the Back
Turn the knife over and lay the ura completely flat on the stone. Take a few light strokes to remove the burr, touching only the narrow flat rim.
Never lift the spine on the back side; that creates a second bevel and ruins the edge geometry. Sakai Ichimonji’s yanagiba sharpening guide also stresses keeping the blade level when deburring the back.
5. Refine on Finer Stones
Repeat the bevel and back steps on your finer stones with lighter pressure. Each stone removes the scratches of the one before and polishes the edge.
6. Strop and Test
Finish with a light pass on a leather strop if you have one. Test on a sheet of paper or a thin slice of cucumber; a sharp yanagiba should slice without tearing.
Adding a Tiny Micro-Bevel
Many sharpeners finish a yanagiba with a very small secondary bevel, called a koba, on the final stone. They raise the angle very slightly and take a few light strokes along the very edge.
This barely visible bevel strengthens the edge against chipping without noticeably reducing sharpness. Keep it tiny, or you’ll have to grind it away at the next sharpening.
Carbon Steel vs Stainless Yanagiba
Traditional yanagiba are often made from carbon steels such as Shirogami (white) or Aogami (blue), sometimes clad in softer iron. They take an exceptionally keen edge and sharpen quickly, but they rust if left wet.
Stainless yanagiba are easier to care for and still very sharp. They can take a little longer on the stone, especially in harder powder steels.
Whatever the steel, the sharpening method is the same: follow the bevel, keep the back flat and deburr lightly.
Left-Handed Yanagiba
Single-bevel knives are made for one hand. A right-handed yanagiba has its bevel on the right side of the blade as you hold it; a left-handed version is mirrored.
Sharpen whichever side has the bevel and treat the other side as the back. Using a right-handed knife in the left hand makes slices steer and is uncomfortable, so left-handed cooks should buy a left-handed model.
Left-handed single-bevel knives are less common and often cost more, so check before you order.
Common Mistakes
- Sharpening both sides equally, which turns a single-bevel edge into a poor double bevel.
- Lifting the spine on the bevel side, creating a steeper micro-bevel too early.
- Grinding the back heavily, which destroys the uraoshi and hollow.
- Using dished stones, which round the bevel.
- Using a honing steel, pull-through or electric sharpener, none of which suit single-bevel knives.
Repairing Chips
Hard Japanese steel can chip if it hits bone or a hard board. Small chips can be removed on a coarse stone by working the bevel evenly until the chip disappears, then refining as usual.
Large chips or a broken tip are best left to a professional Japanese knife sharpener, who can restore the blade’s shape without distorting the bevel.
Caring for a Sushi Knife
- Use it only for boneless fish and soft foods; avoid bones and frozen fish.
- Cut on a wooden or soft board.
- Wash and dry immediately; many yanagiba are carbon steel and rust quickly.
- Oil carbon steel blades lightly before storage.
- Store in a saya or on a magnetic strip.
Sharpening takes care and steady hands. The UK Health and Safety Executive’s guidance on safe use of knives recommends training in safe sharpening, which is good advice for long, very sharp blades like these.
How Often to Sharpen
Professional sushi chefs often touch up their yanagiba daily on a fine stone. Home cooks using the knife occasionally may only need a full sharpening every few months, with a light pass on a fine stone before special occasions.
If you’re choosing a knife, see our guide to the best sushi knives. For double-bevel kitchen knives, our guide on sharpening with a stone covers the standard method.
Frequently Asked Questions
Are sushi knives single bevel?
Traditional yanagiba are single-bevel. Some modern sushi knives are double-bevel.
What angle do I sharpen a yanagiba at?
Follow the existing bevel by laying it flat on the stone.
Should I sharpen the back of a sushi knife?
Only lightly, with the back flat on the stone, to remove the burr.
Can I use a honing steel on a sushi knife?
No. It can damage the single-bevel edge.
What stones do I need?
About 1000 grit to sharpen and 3000–6000 or finer to finish, plus a way to flatten them.